
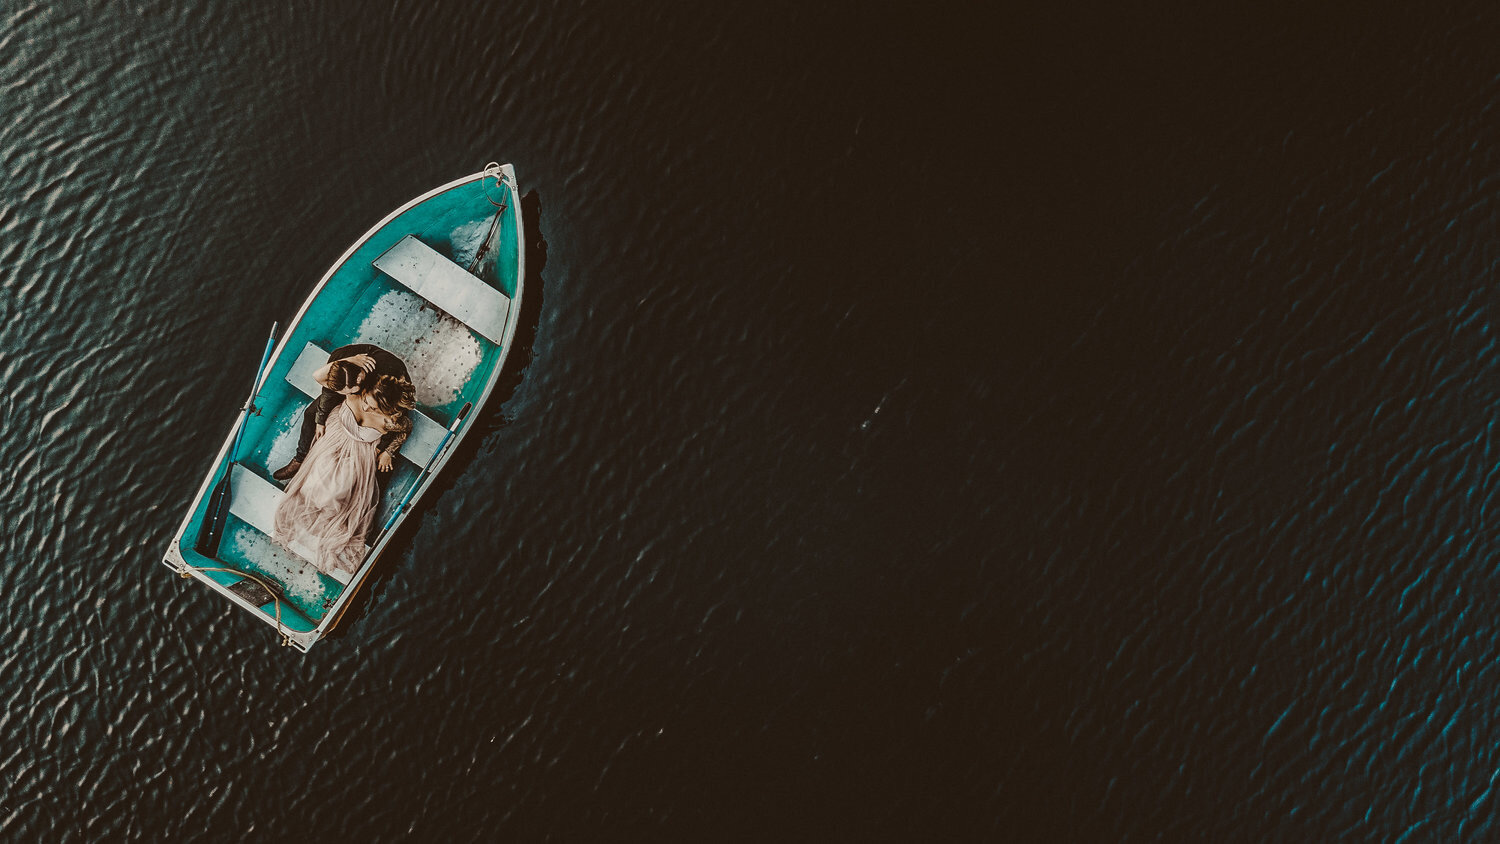
Drones can breathe new life into your photography. A perspective from above opens up a ton of possibilities. The best part is that you can buy a drone basically anywhere camera gear is sold. Before you go out and buy your first drone, here’s some things you need to know!

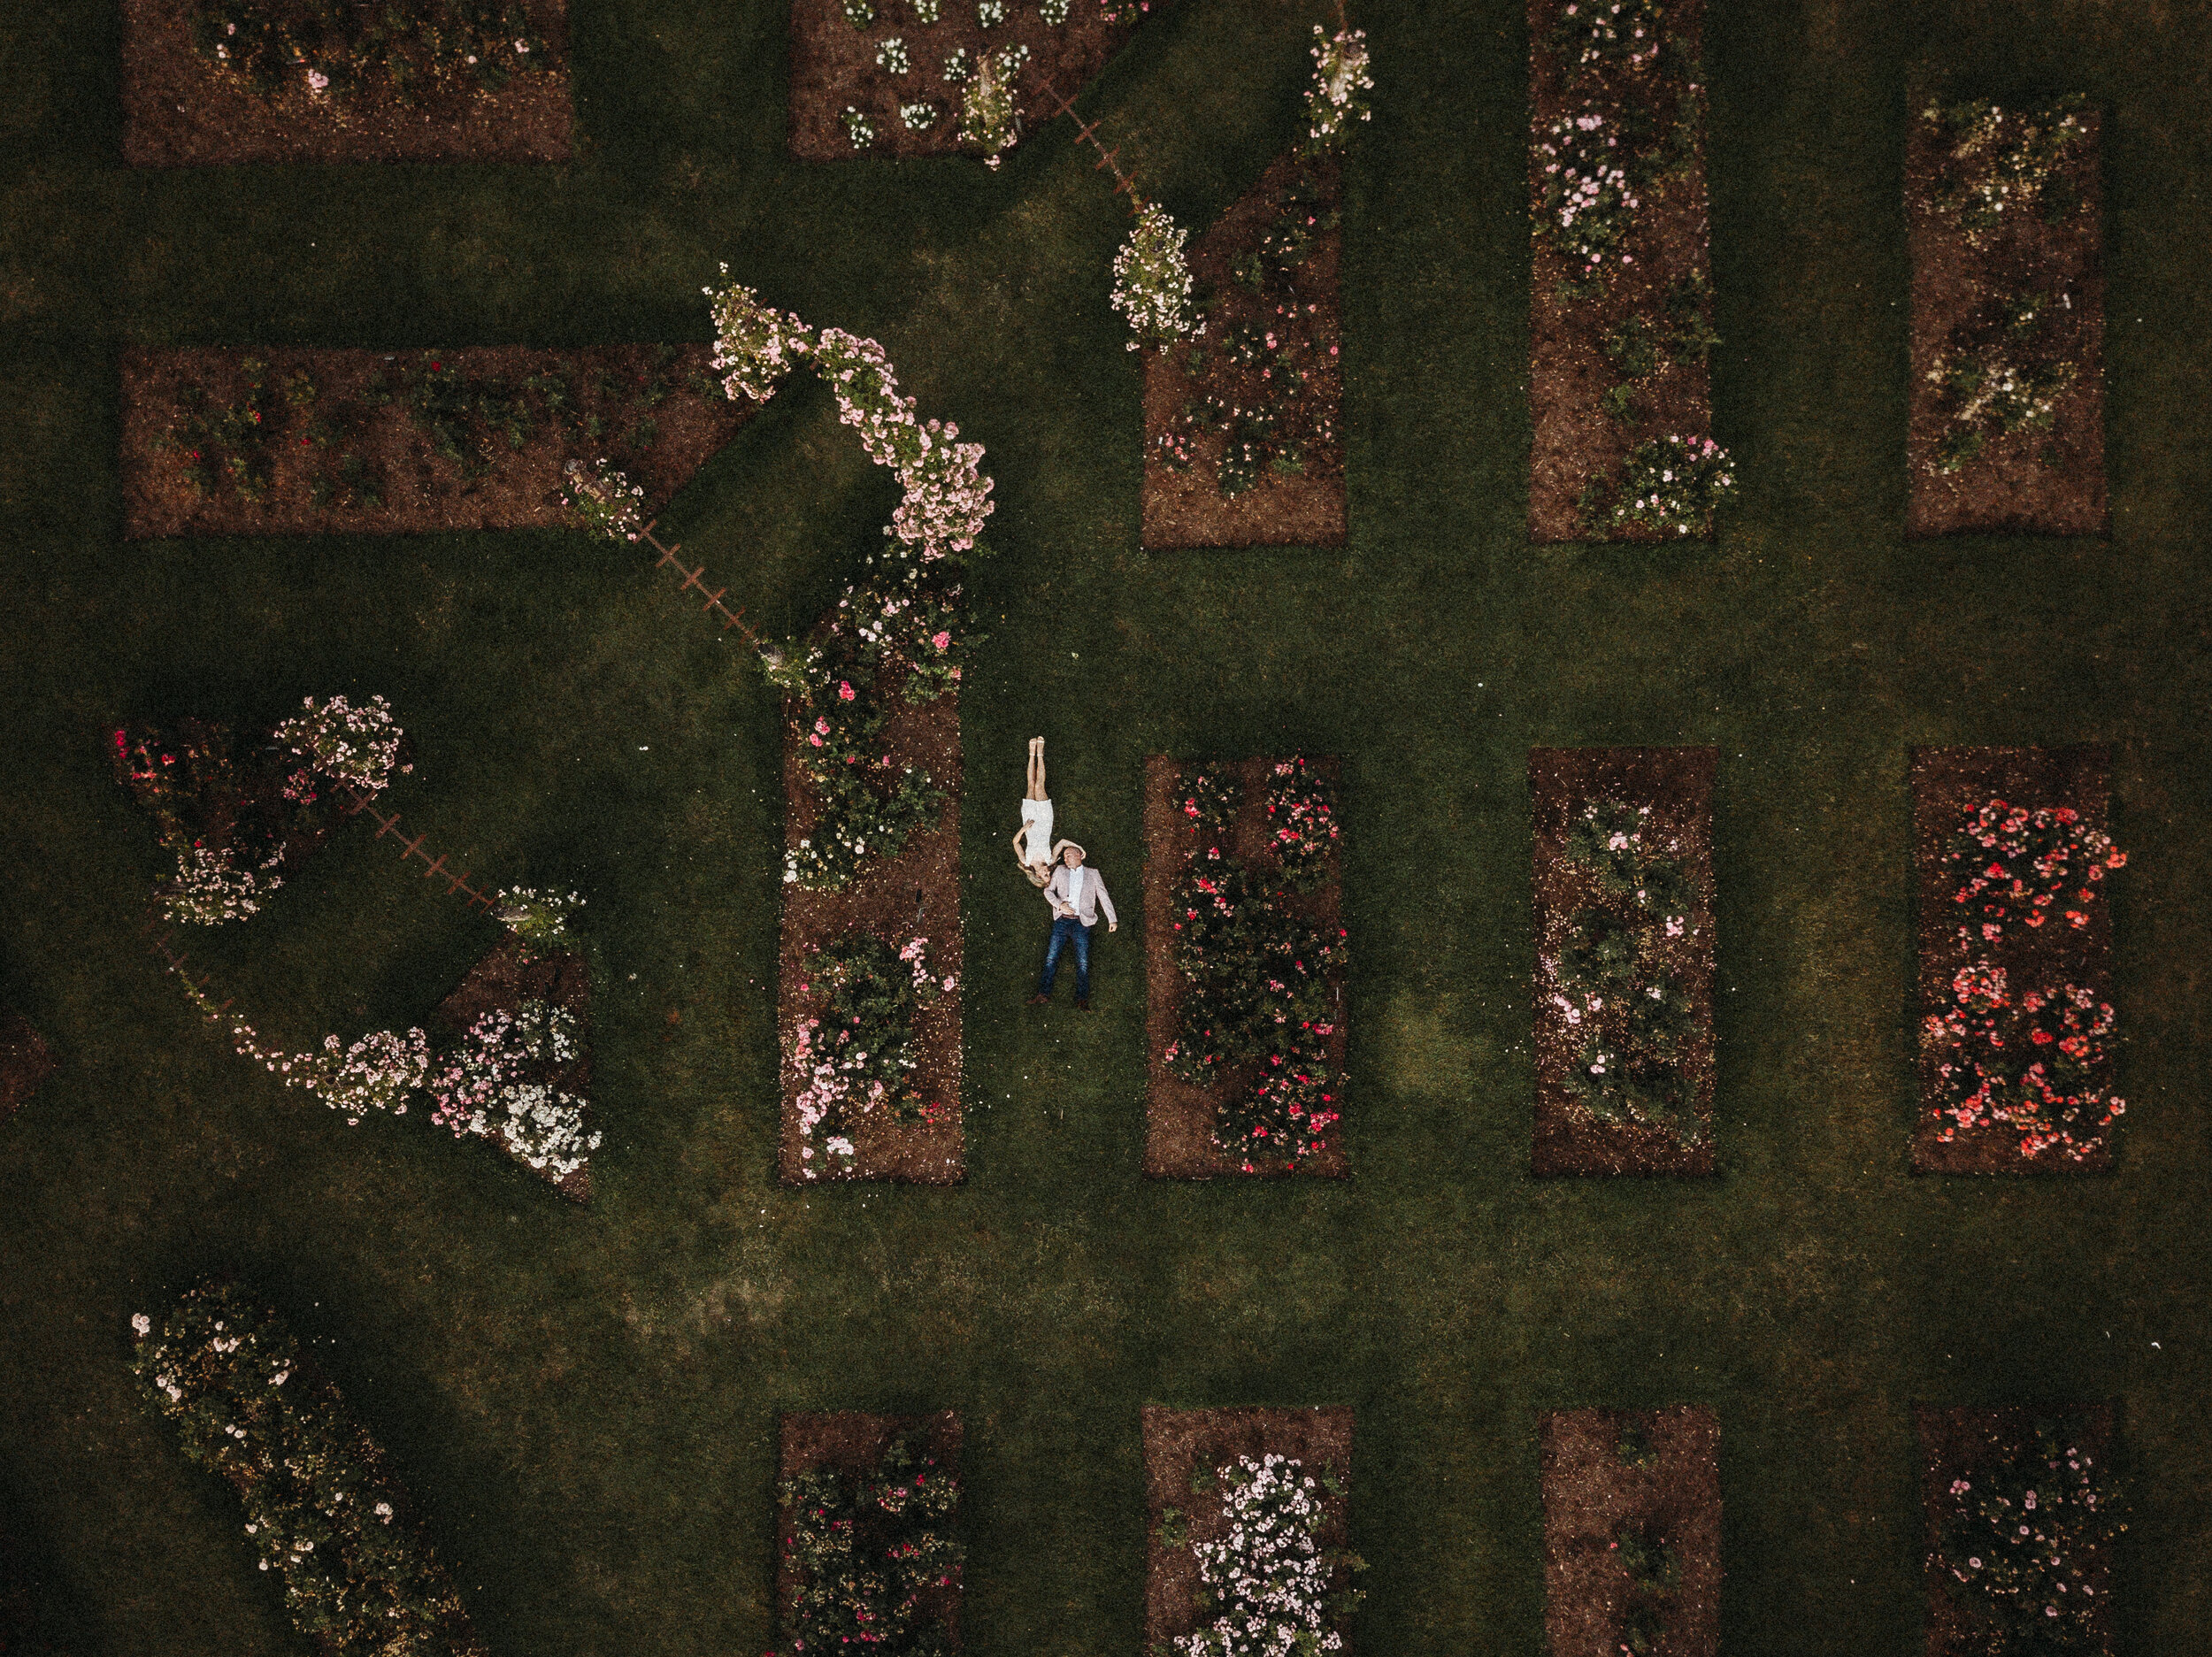
Esteban Gil / DJI Mavic Pro 2
*CAUTION* Always check the official FAA website for current drone regulations. Steel + Flint Society is here to help, but should not be used as an exclusive resource for current drone laws. That being said, let’s dive in!
What kind of drone should I buy?
Given their availability, ease to fly and image quality, we’re big fans of DJI’s products. While they make a wide line of aircraft, here are our three favorites. Since we’re wedding photographers, portability is a major deciding factor. For the sake of this article, we’ll be focusing on specs related to still photography online.
(All product images from DJI’s official website. We didn’t create them.)
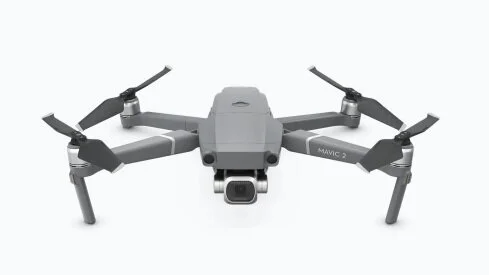
DJI Mavic Pro 2
The top of the line! Featuring a Hasselblad camera with a 1” CMOS sensor, the image quality is outstanding. This drone also has an adjustable aperture from f/2.8-11! The Mavic Pro 2 also features an omnidirectional obstacle avoidance system.

DJI Mavic Air
This is the most portable and affordable option. While the image quality and range may be less than the Mavic Pro drones, the Mavic Air can certainly hold its own for most operations. This drone can easily fit into any camera bag system, making it a great choice!

DJI Mavic Pro
While this drone was updated with a new model, the original Mavic Pro should still be considered for a few key reasons. The image quality is superb and uses a more reliable signal technology than the Mavic Air. Even in 2019, the original Mavic is still a relevant option to consider for your first drone!
Do I have to register my drone with the FAA?
Yes. At the time of writing this blog post, if your drone weighs more than 0.55 lbs. (250 grams) and less than 55 lbs. (25 kg), you must register it with the FAA. Registration costs $5 and is valid for 3 years. Click here to access the FAA portal and register your drone.

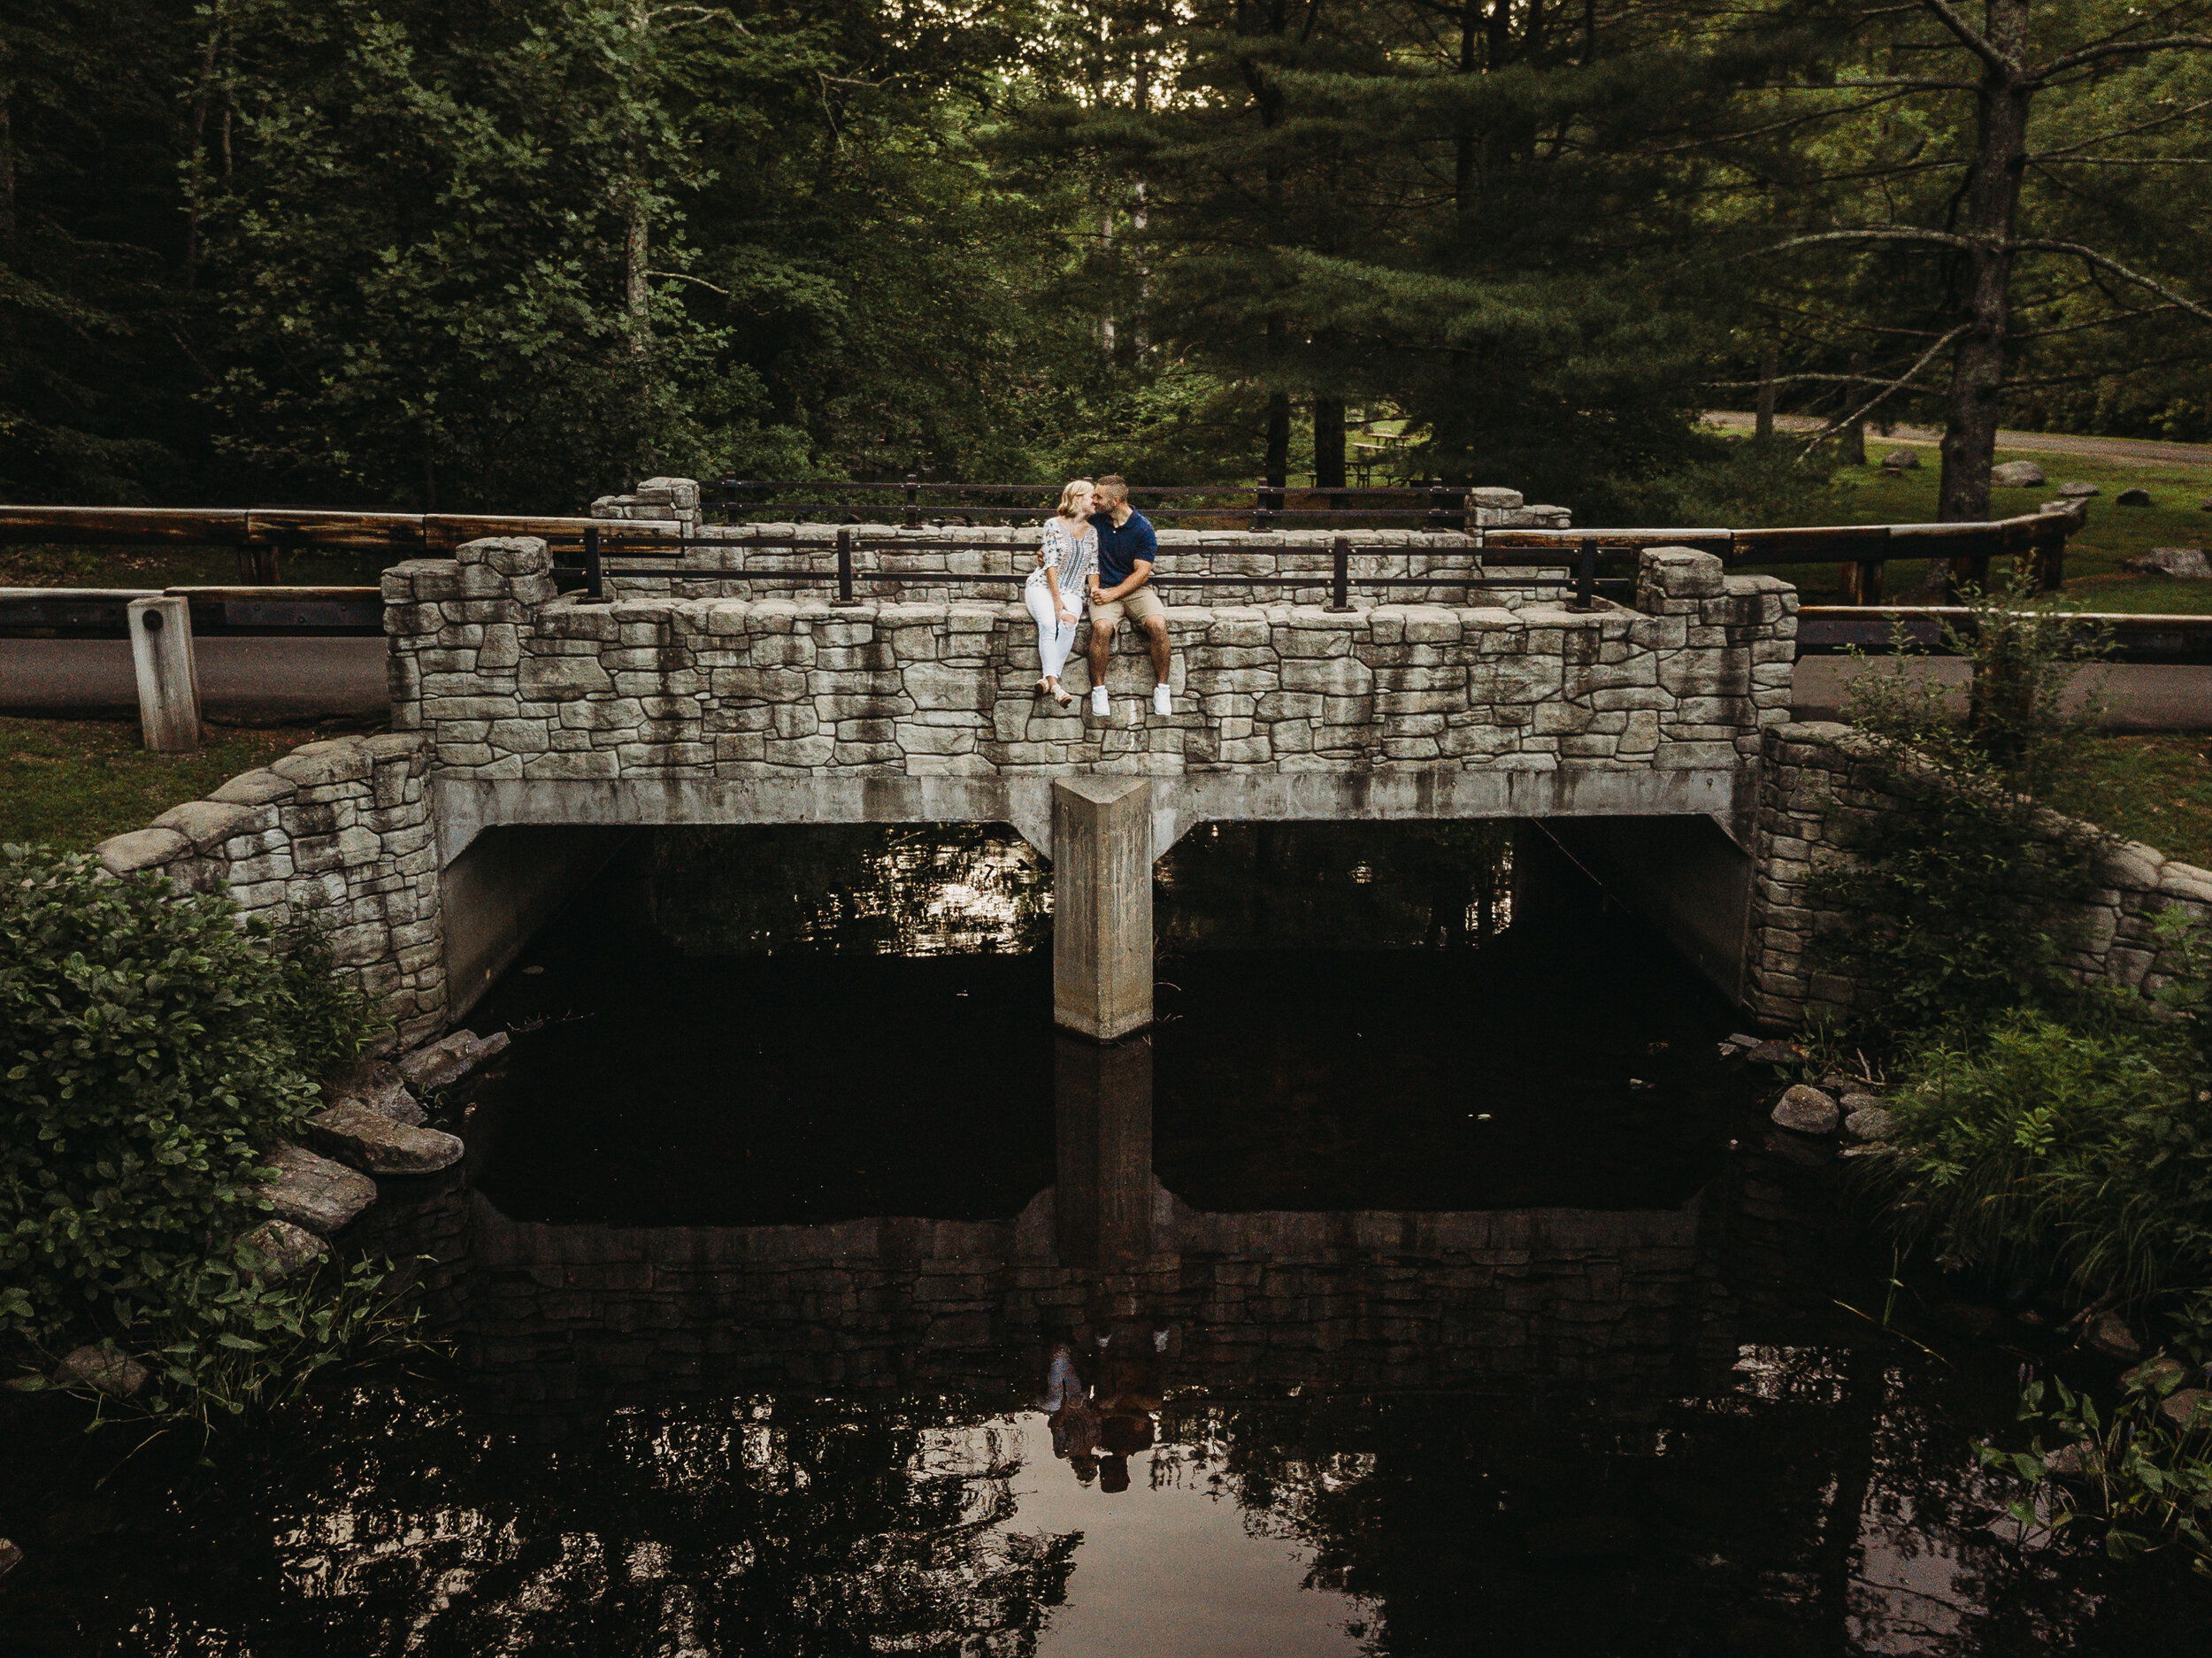
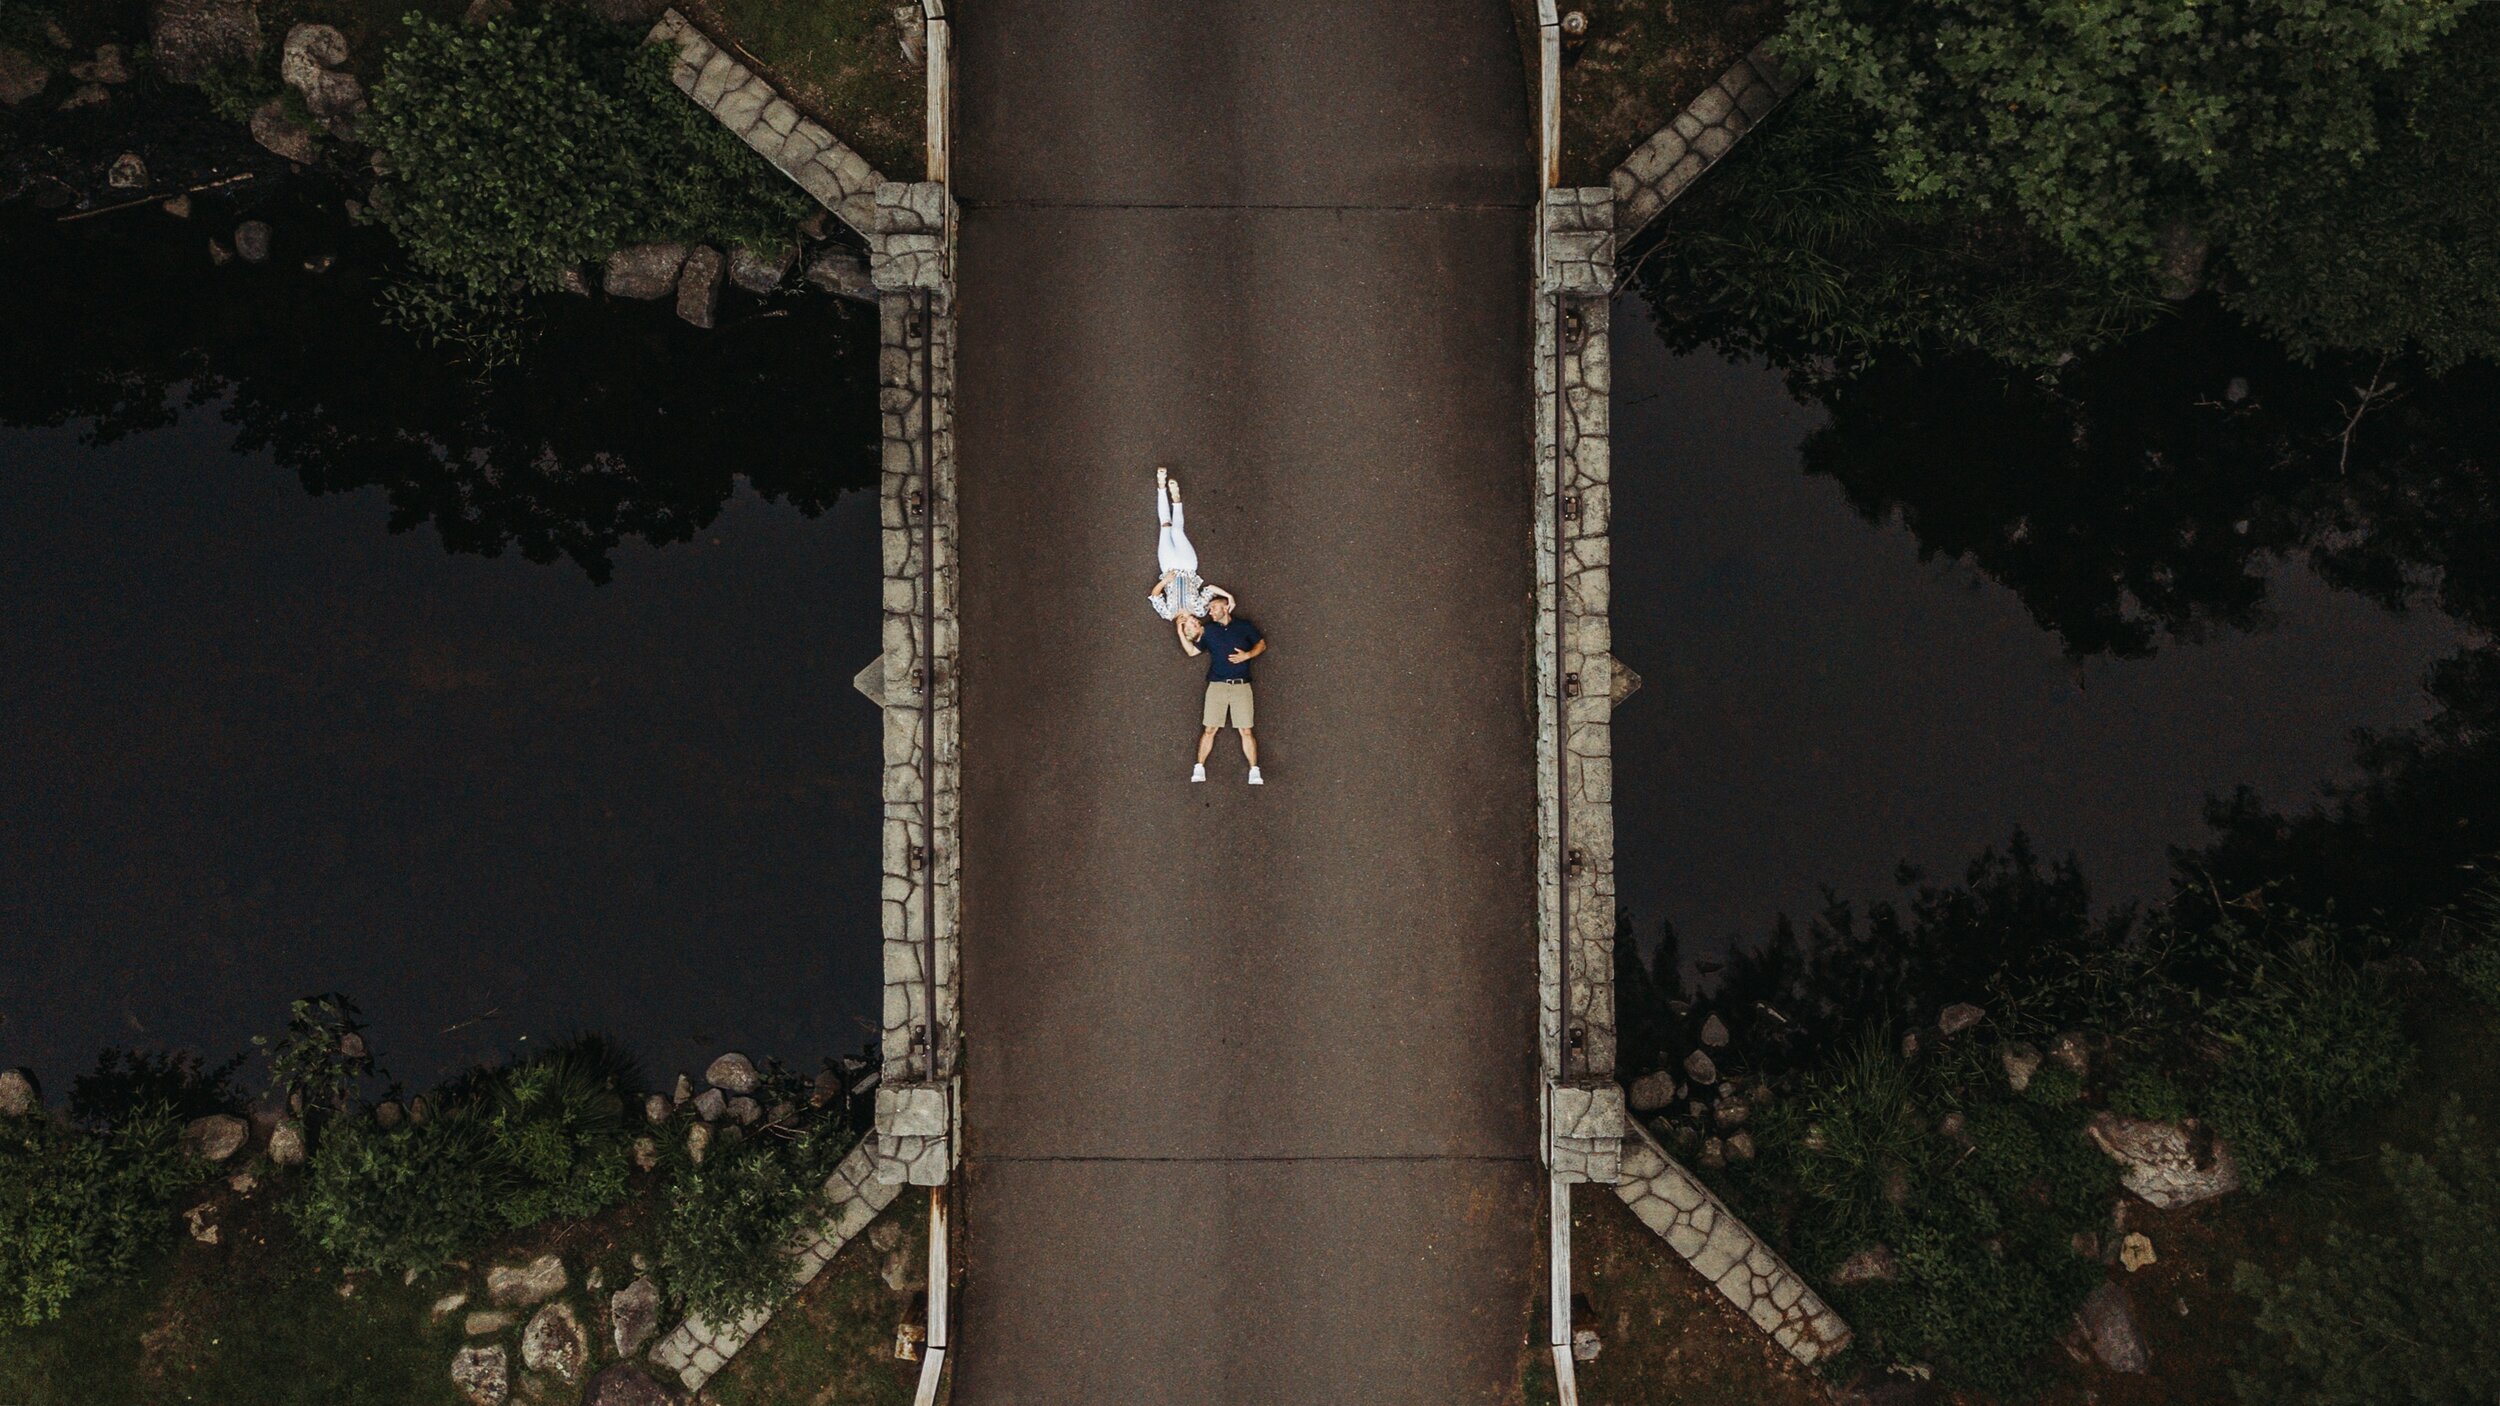
Mike Musto / DJI Mavic Pro
What is the Part 107 certification?
If you plan on using your drone for “commercial” purposes, aka anything for your business, the FAA requires the pilot in command to pass a knowledge test to become a Certified Remote Pilot. This may seem like overkill at first, but if you think about it, it does make perfect sense. If you’re going to be operating an aircraft in the same space as other pilots, you should know the rules and regulations in to fly safely. Having this license will also grant you the ability to obtain waivers for operations in controlled airspace. For example in certain areas around airports!
How do I become Part 107 certified?
According to the FAA, to become a Certified Remote Pilot, you need to accomplish the following:
Study the Part 107 rules and regulations
Pass a knowledge test at an official testing center ($150 fee)
Register your drone with the FAA
Once you accomplish these steps, you’ll know how and where to operate your drone in a safe manner.

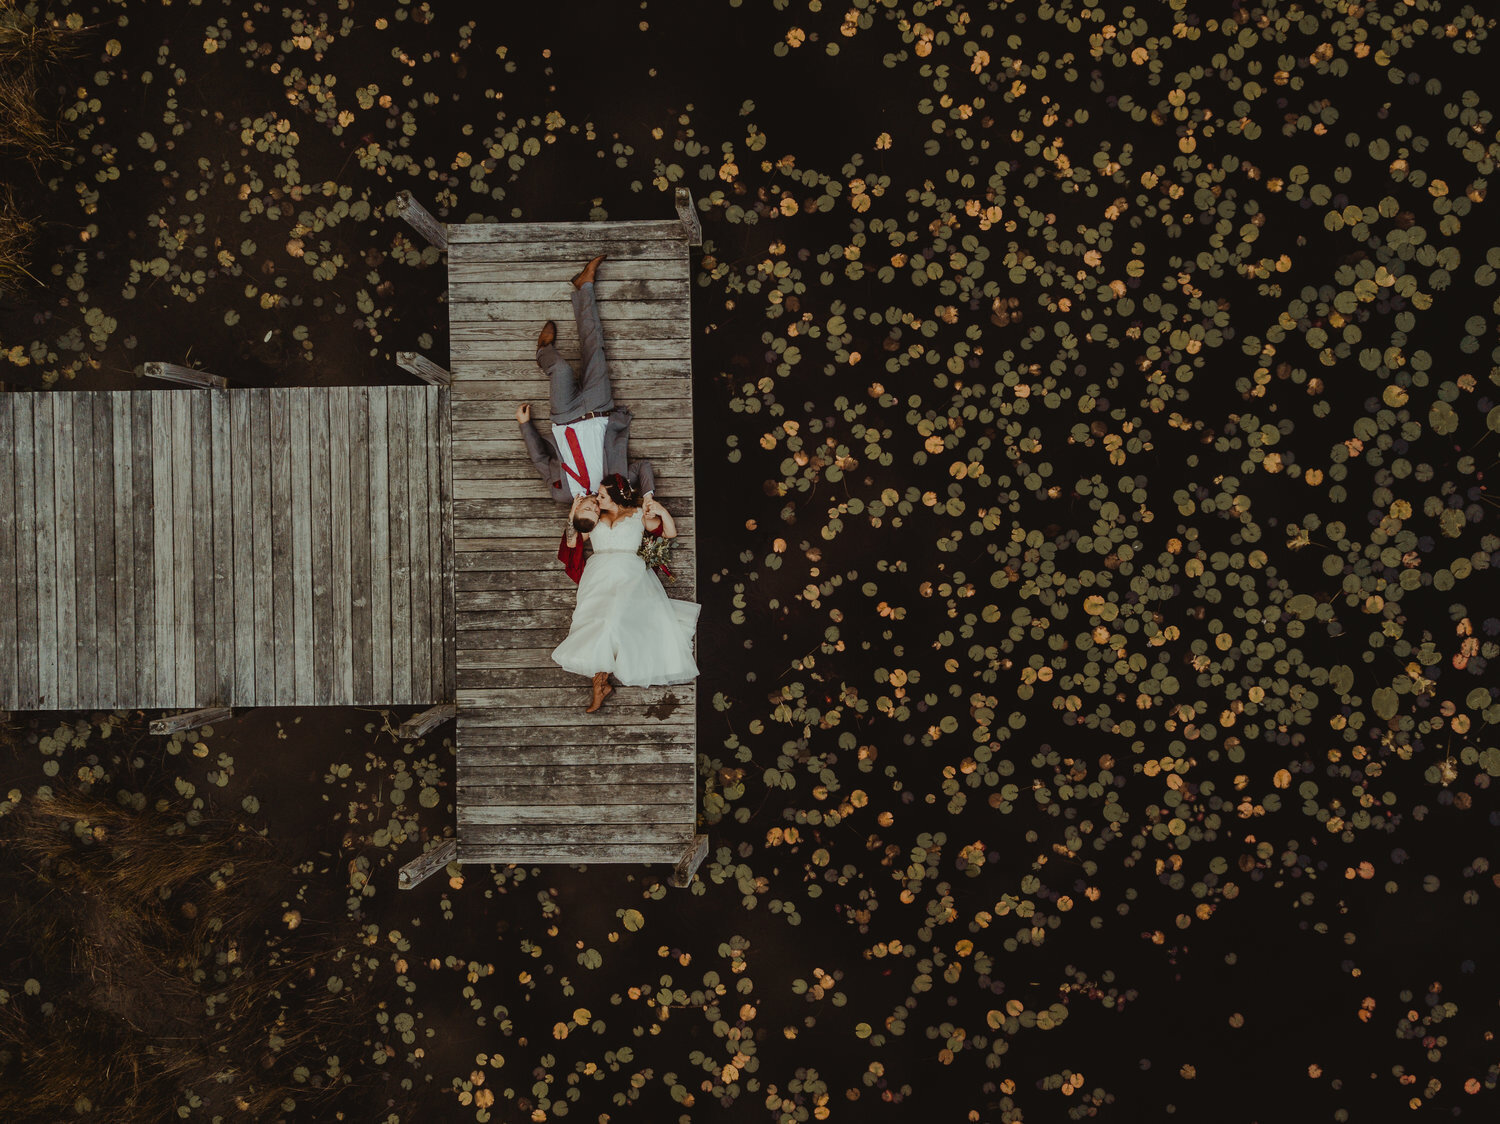
Esteban Gil / Mavic Pro
How do I study for the Part 107 test?
There are a bunch of free resources online, along with some paid ones. Here are some links to help you study. PRO TIP: Spend a good amount of time studying Sectional Charts!
Free Option - FAA Supplied Study Materials
Free Option - Drone Certification Study Guide: FAA Part 107 sUAS Test
Paid Option - Drone Pilot Ground School
Paid Option - FAA Test Practice Questions App
How do I know where it is safe and legal to fly?
Apps like KittyHawk are great resources to learn about current weather conditions and the airspace you’re operating in. It will notify you if you are near controlled airspace like an airport or military base. Always check your operating area before taking off!

Should I look into drone insurance?
While insuring your actual drone requires a specific policy, obtaining liability insurance should definitely be on your pre-flight checklist. Verifly makes the process very easy and fast, allowing you to insure at different amounts for short lengths of time. Please note, if you are unclear about insurance coverage, always consult an insurance agent.


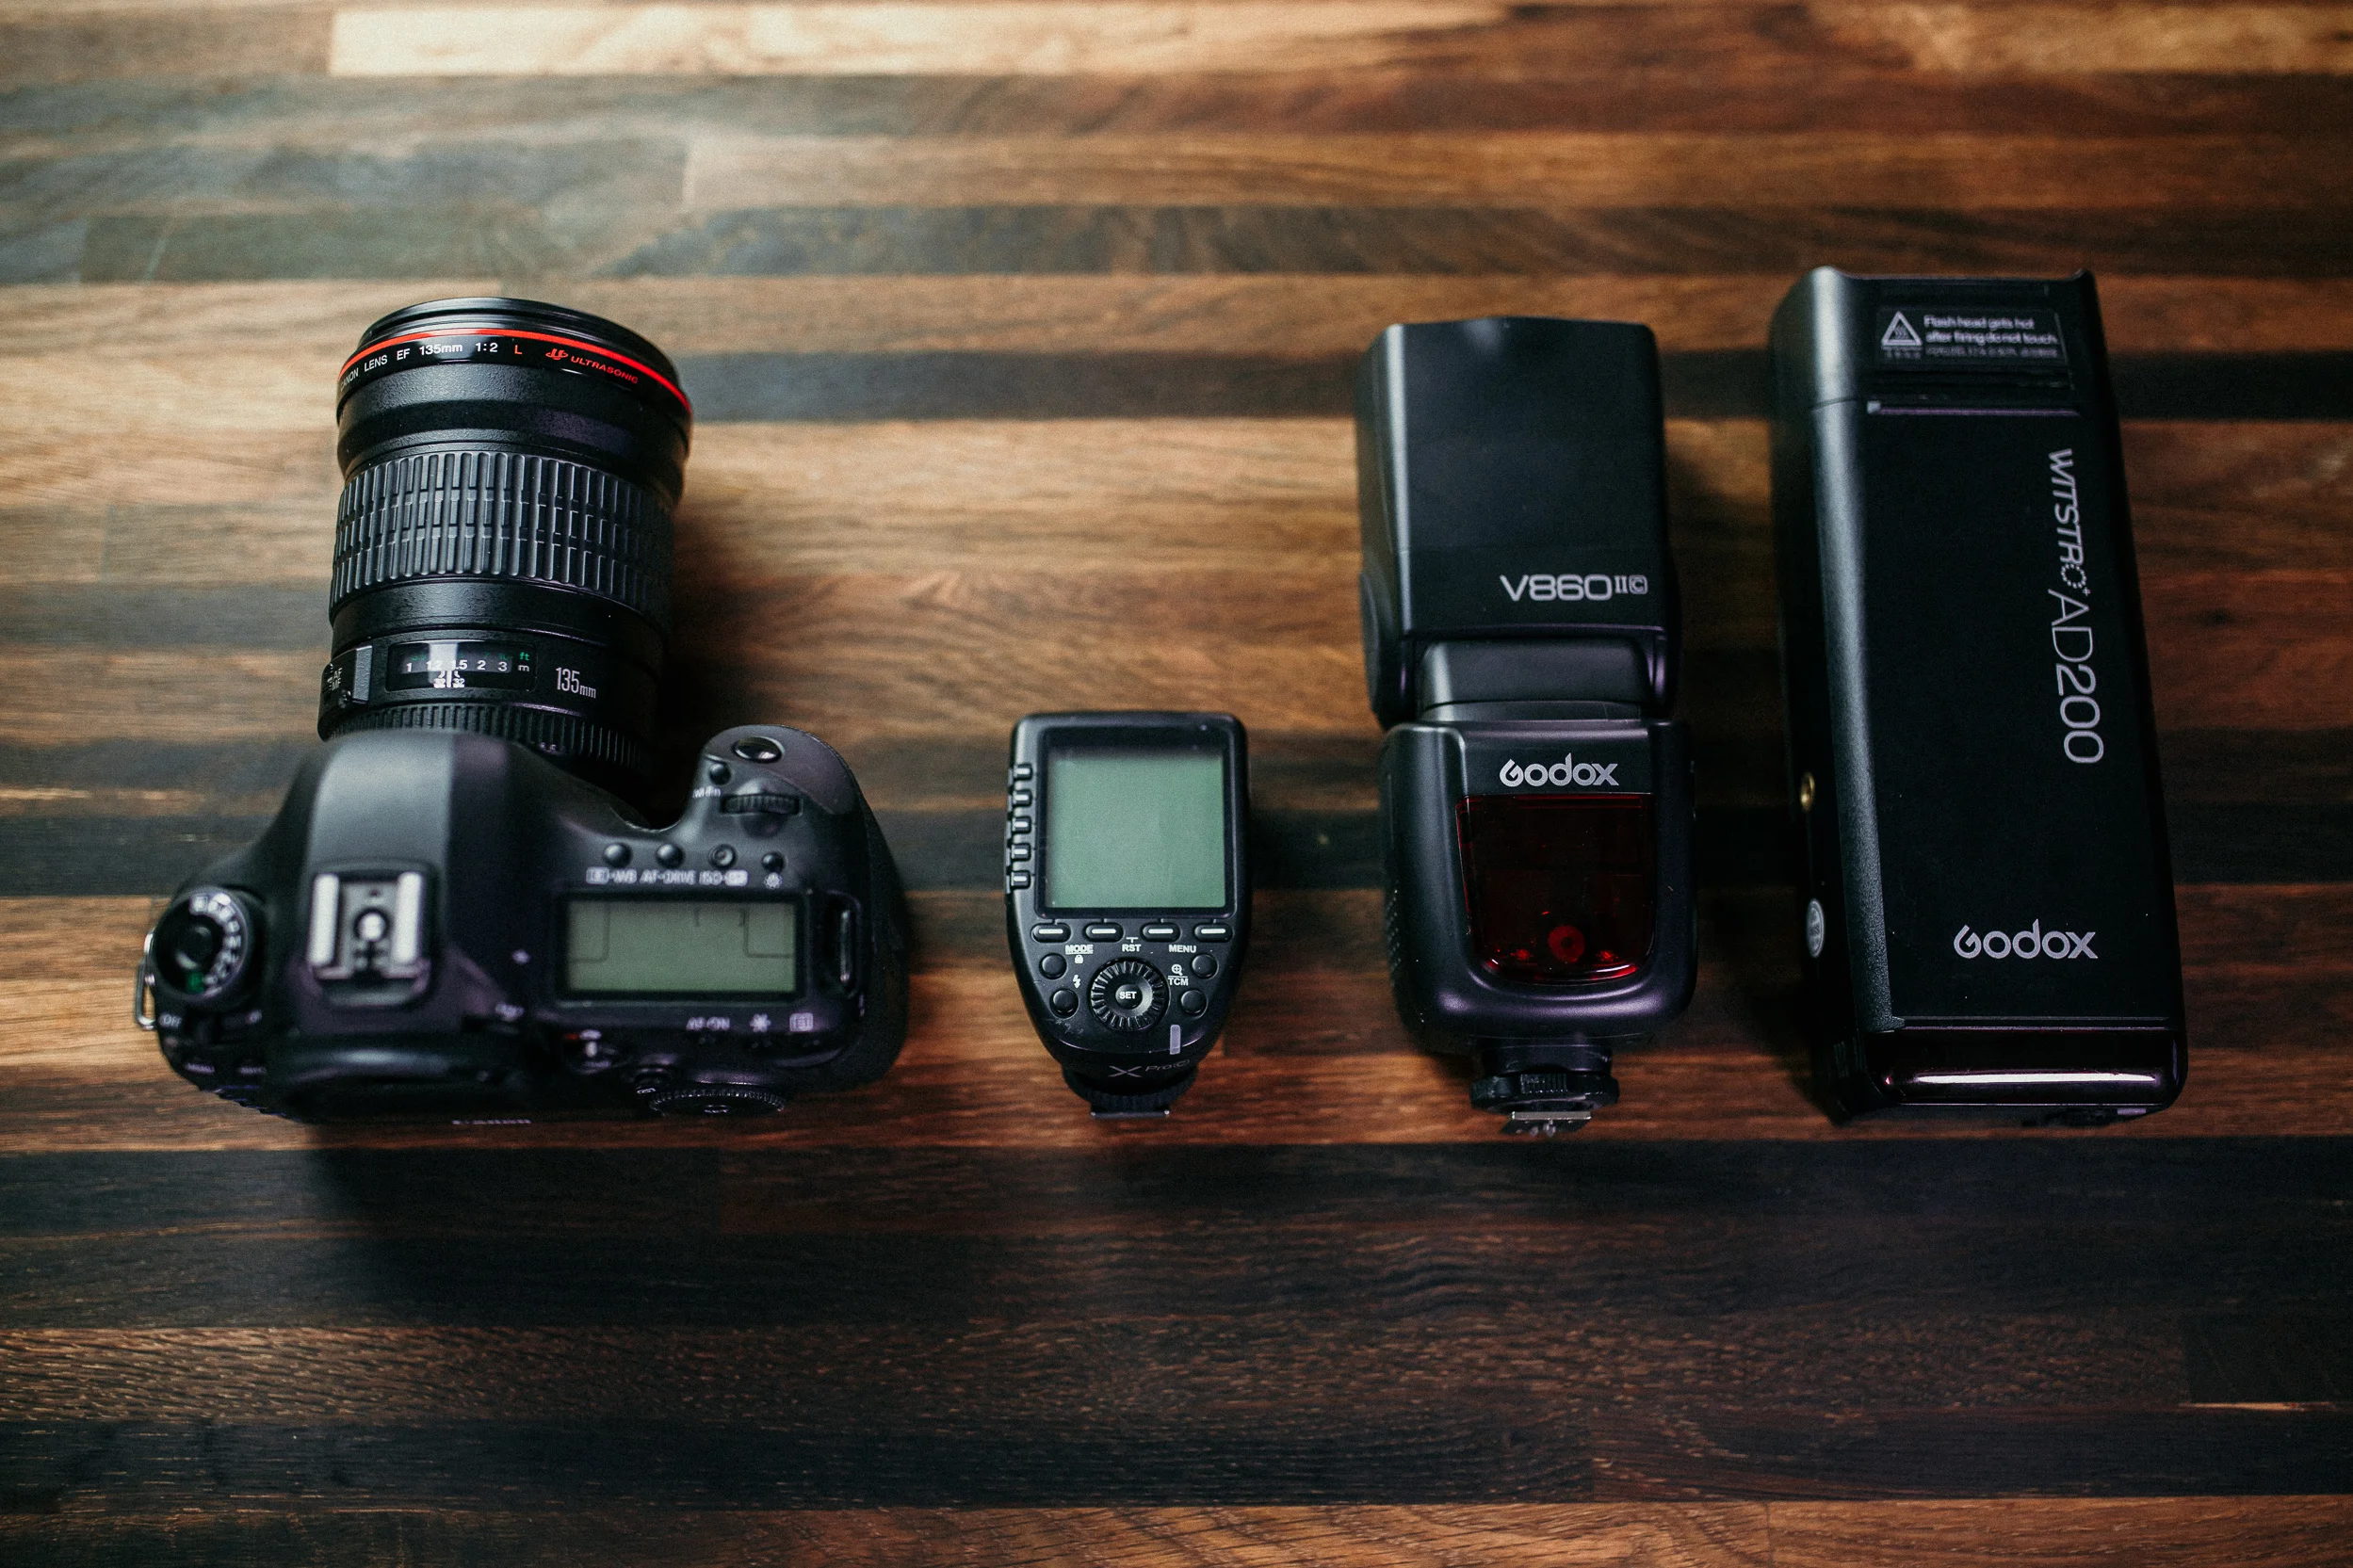


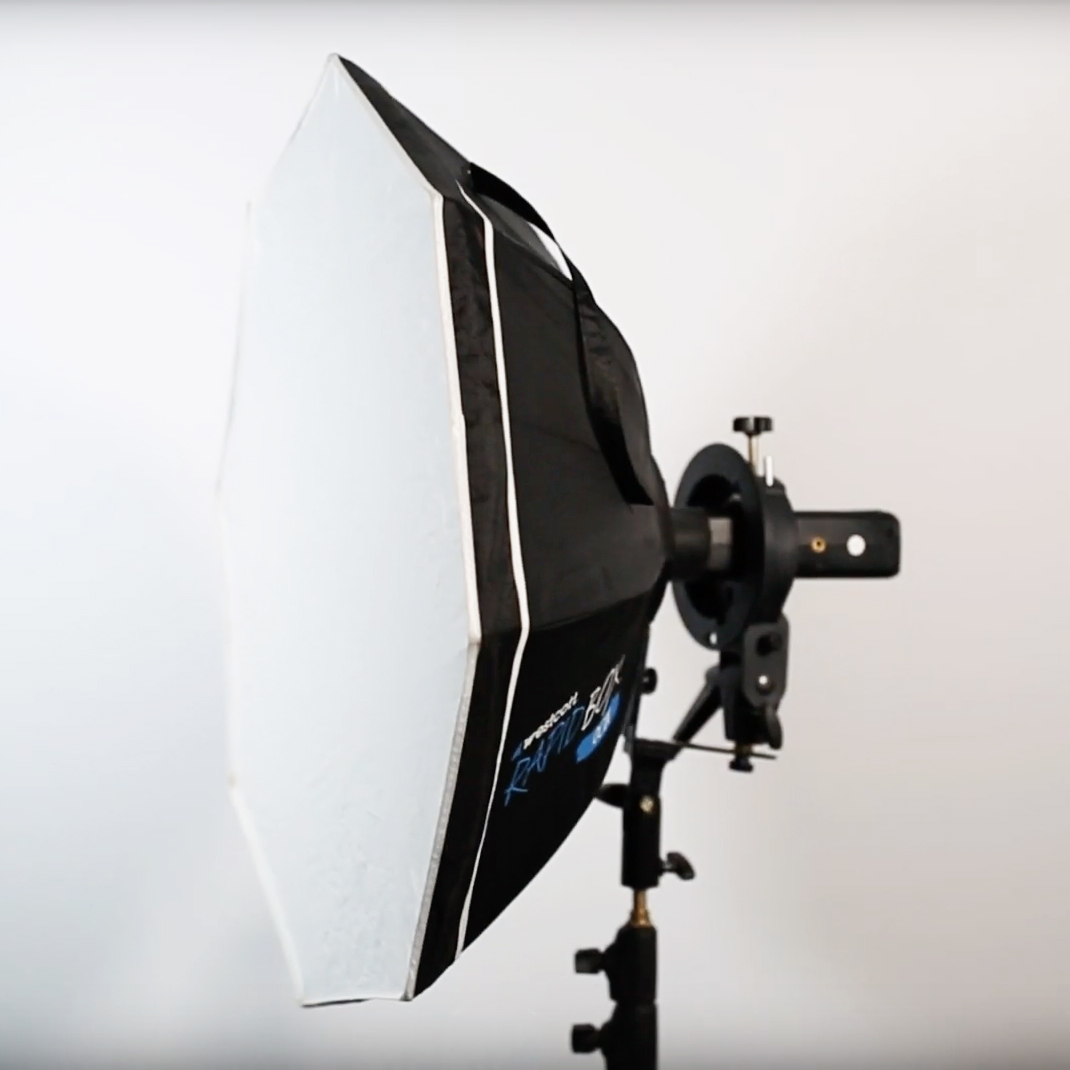


Have a question about off-camera flash and lighting? Check here first!