
By: Nicole Cain, Evermore Imaging
Incorporating .GIF files into your online galleries is a great way to impress clients! These little “snippets” of video bring you back to the emotions of that session or day. If you use a gallery hosting service like Cloudspot, they will even auto-play in the feed. Here’s how to create a .GIF file like this below:


Here’s the step-by-step process to make a .GIF file in Photoshop!
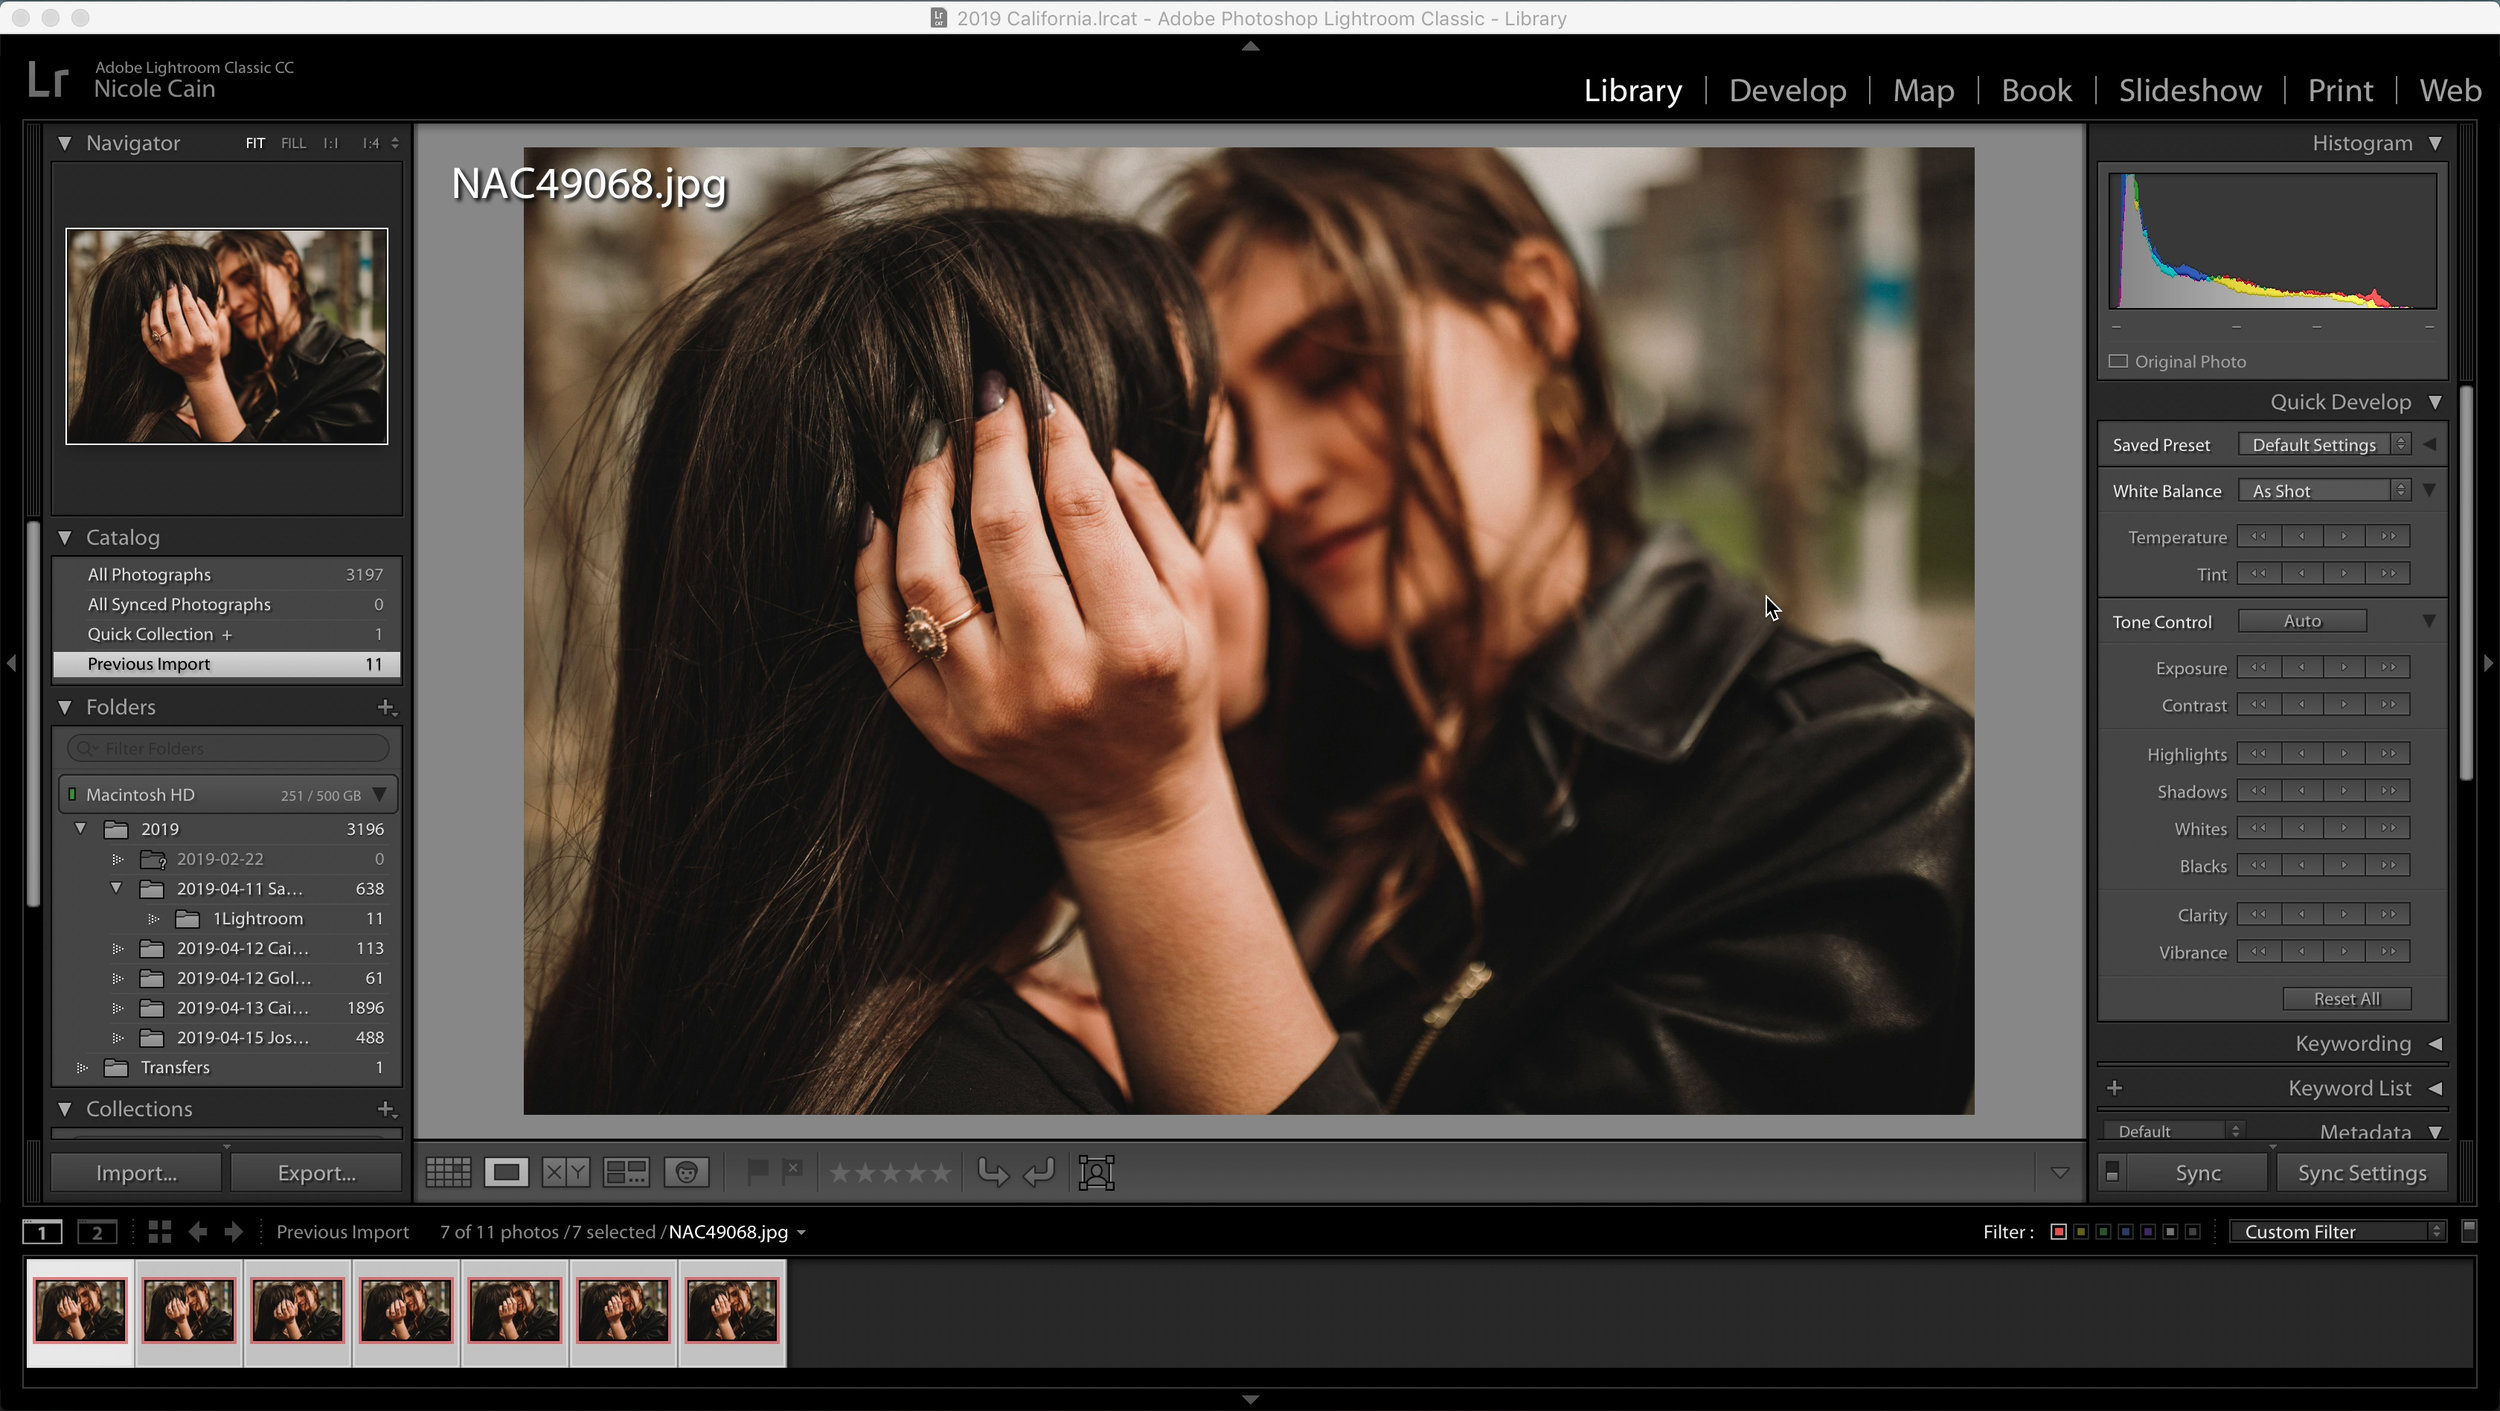
Step 1: Edit and Sync Settings to all photos in Lightroom before assembling your .GIF
Once you add your photos to Photoshop, they will be converted to a file type not suitable for heavy editing.
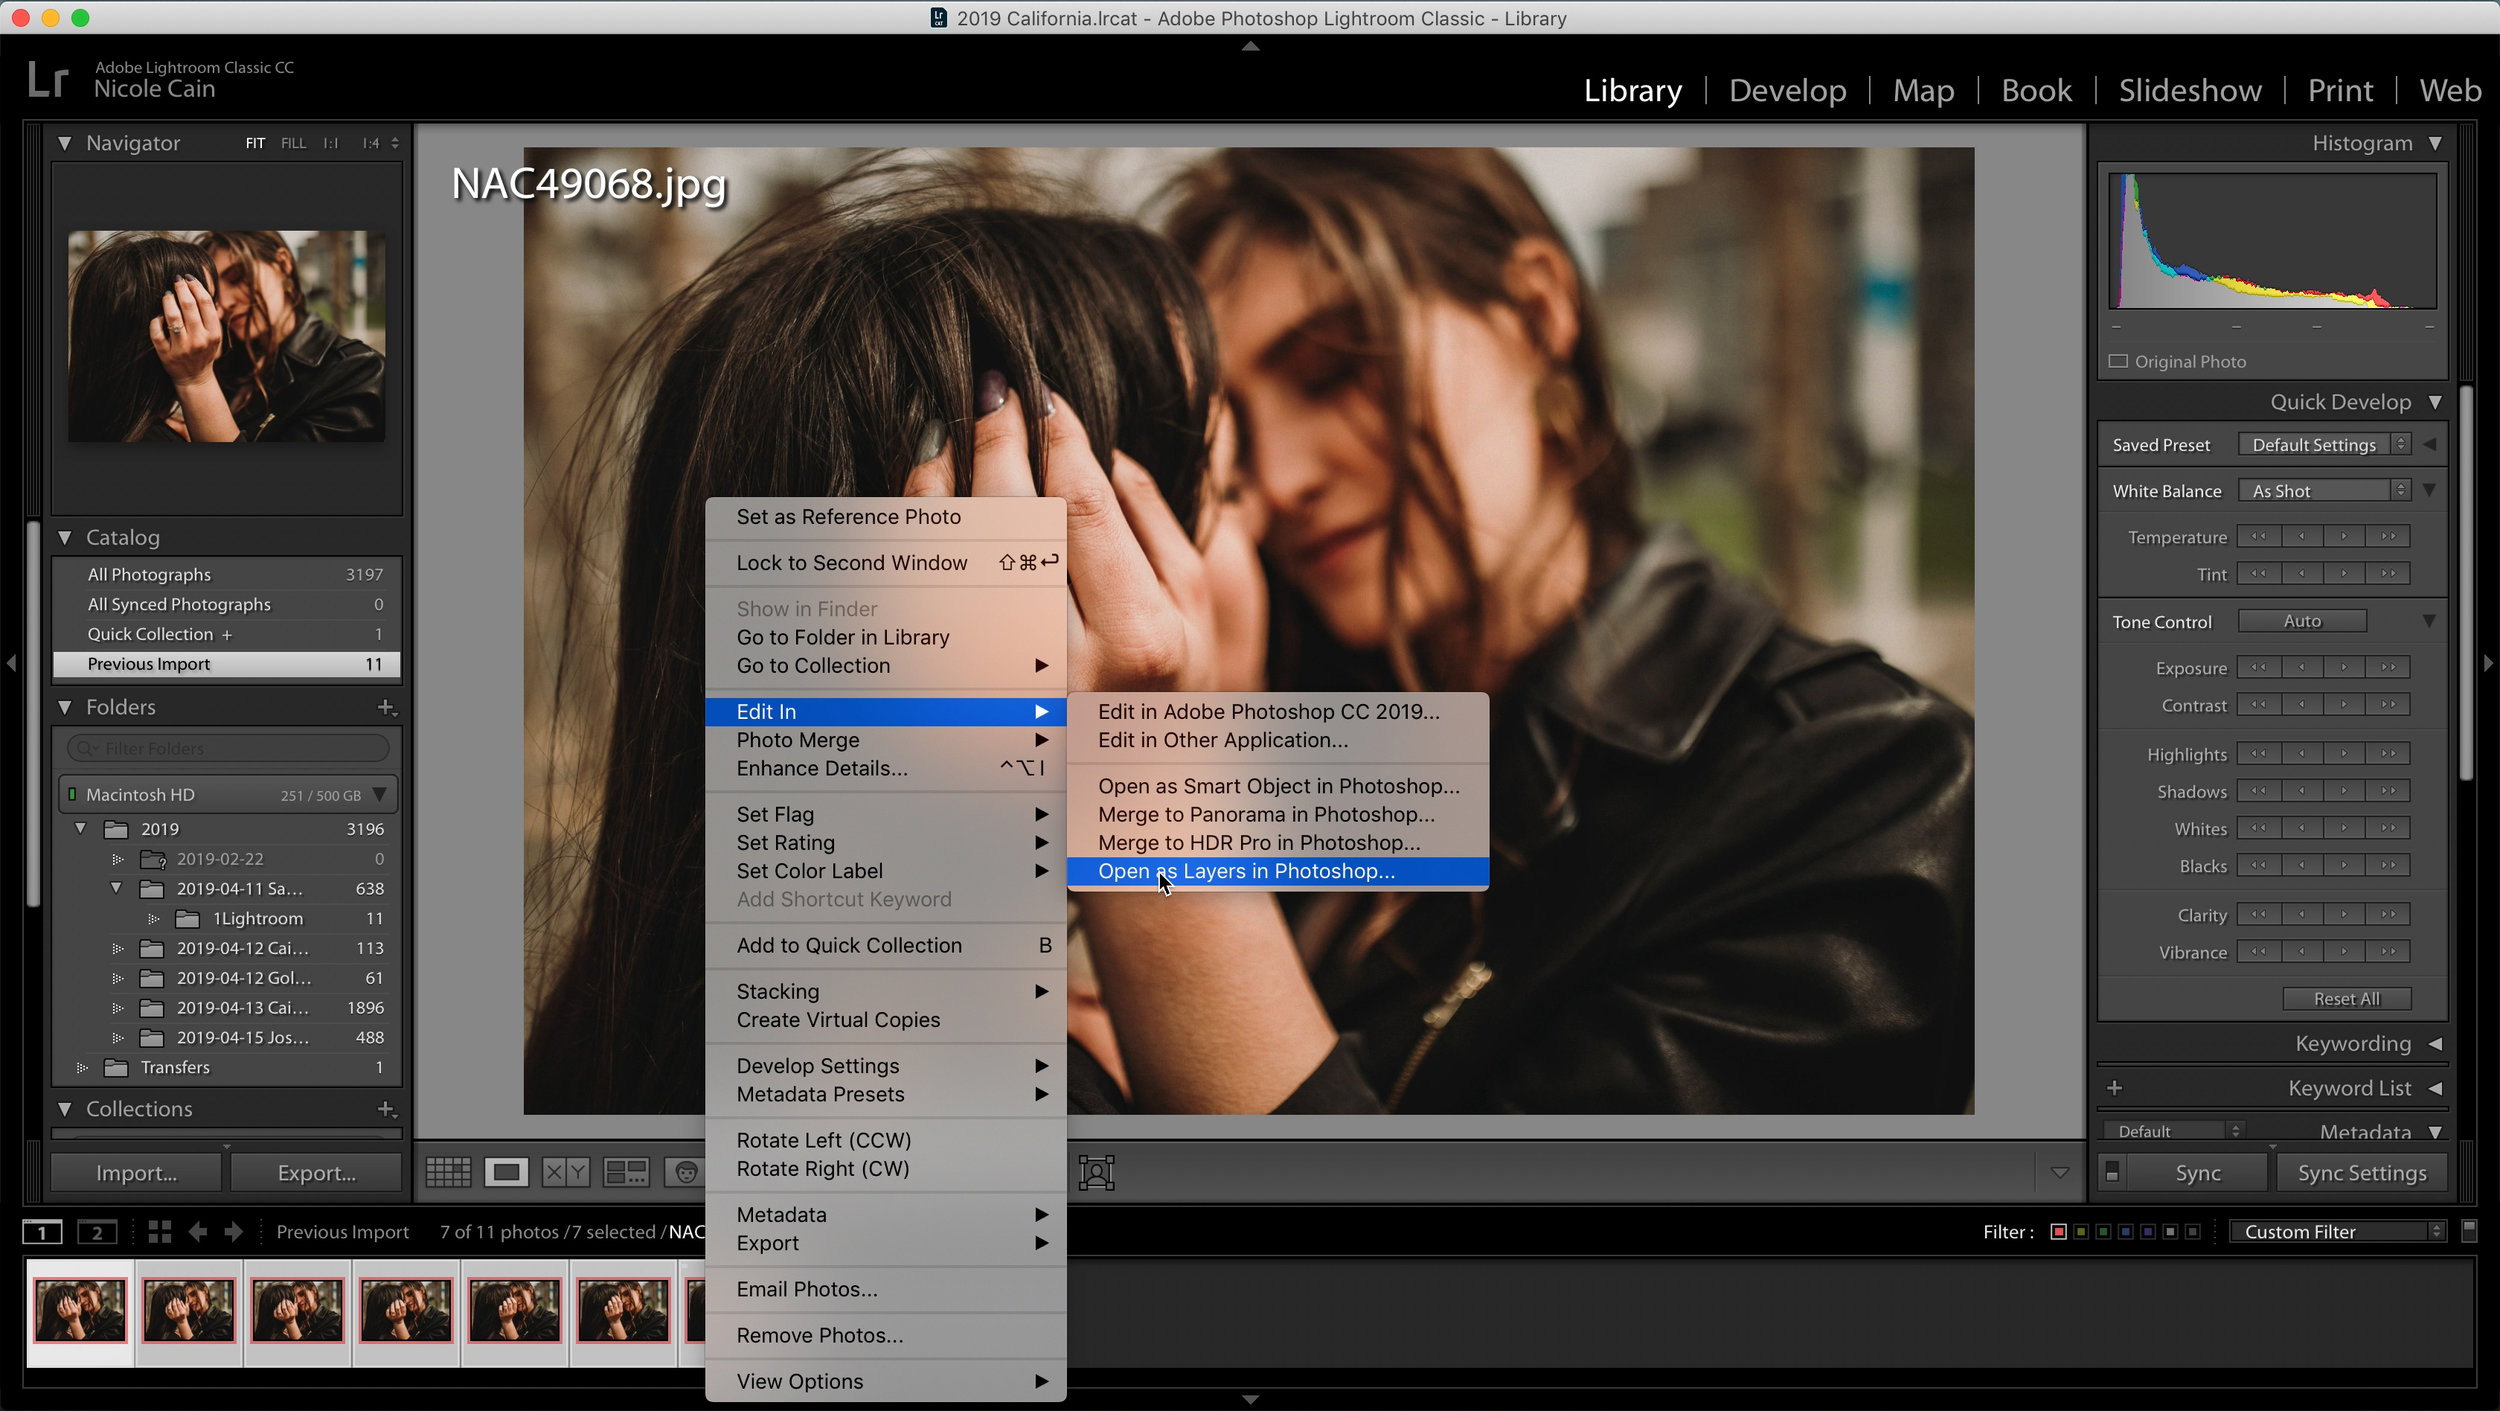
Step 2: Select All Images, then select Edit In / Open as Layers inPhotoshop
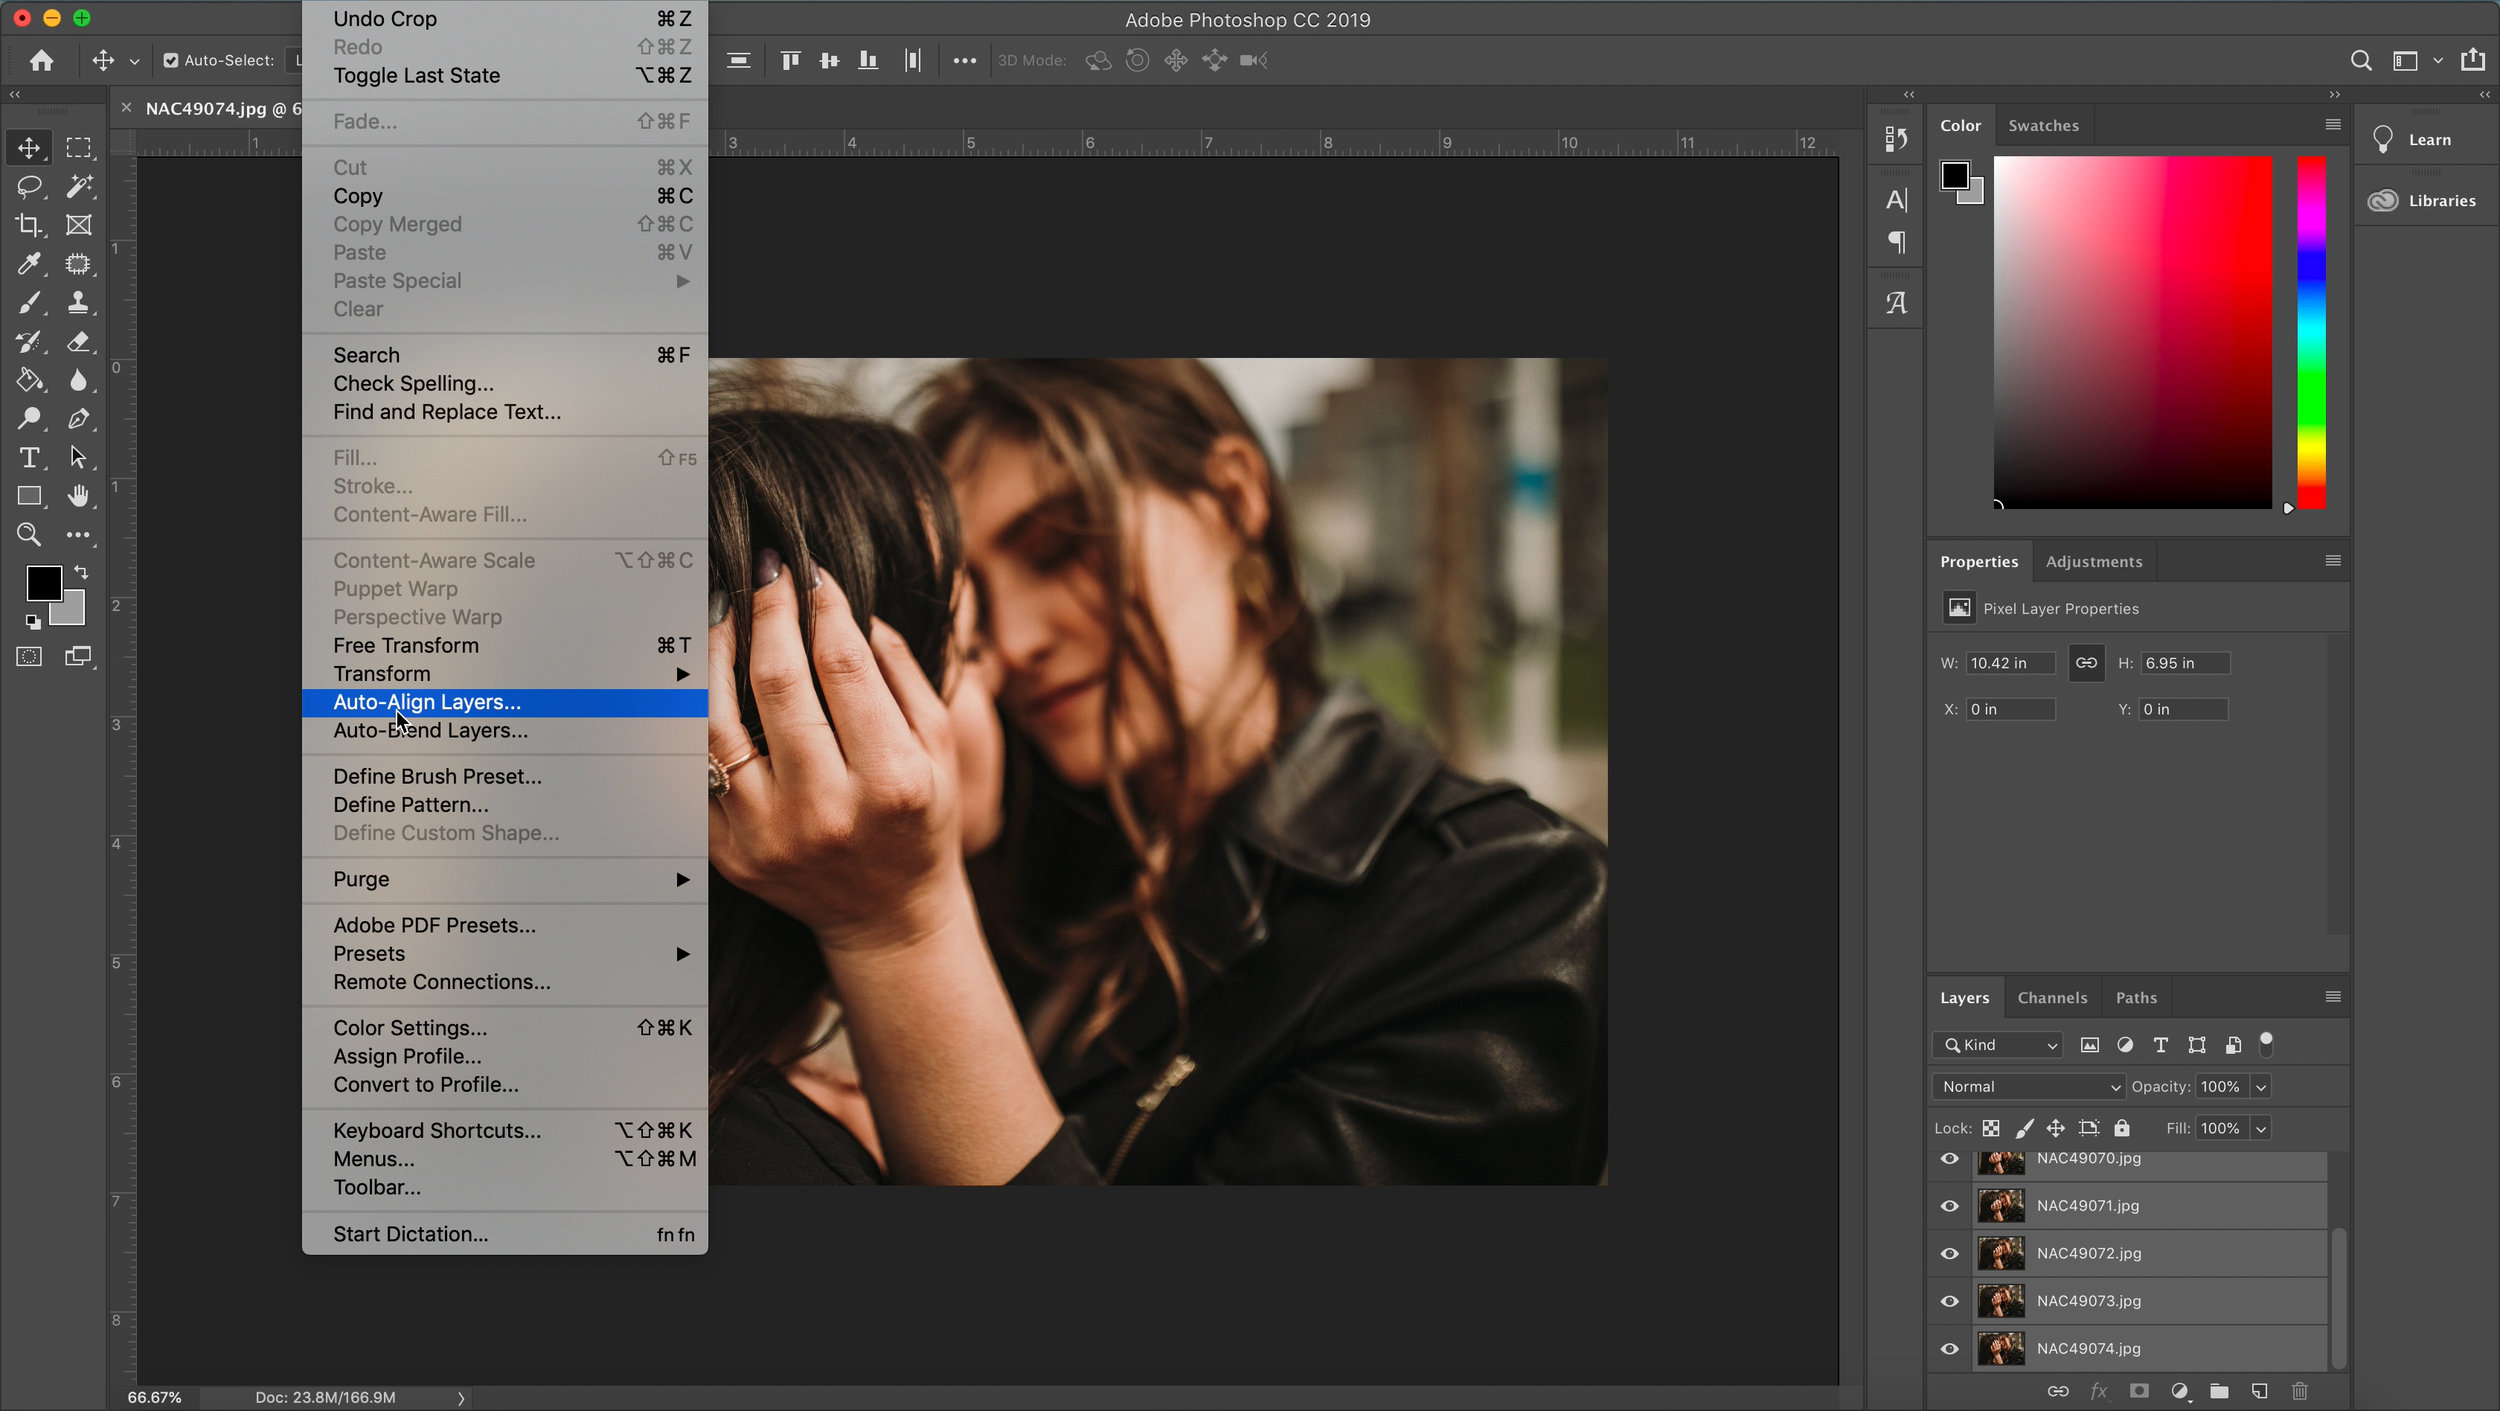
Step 3: Select All Layers, then under Edit menu, select Auto Align Layers / Auto Projection
This will ensure smoother playback once your frames are playing one after another.

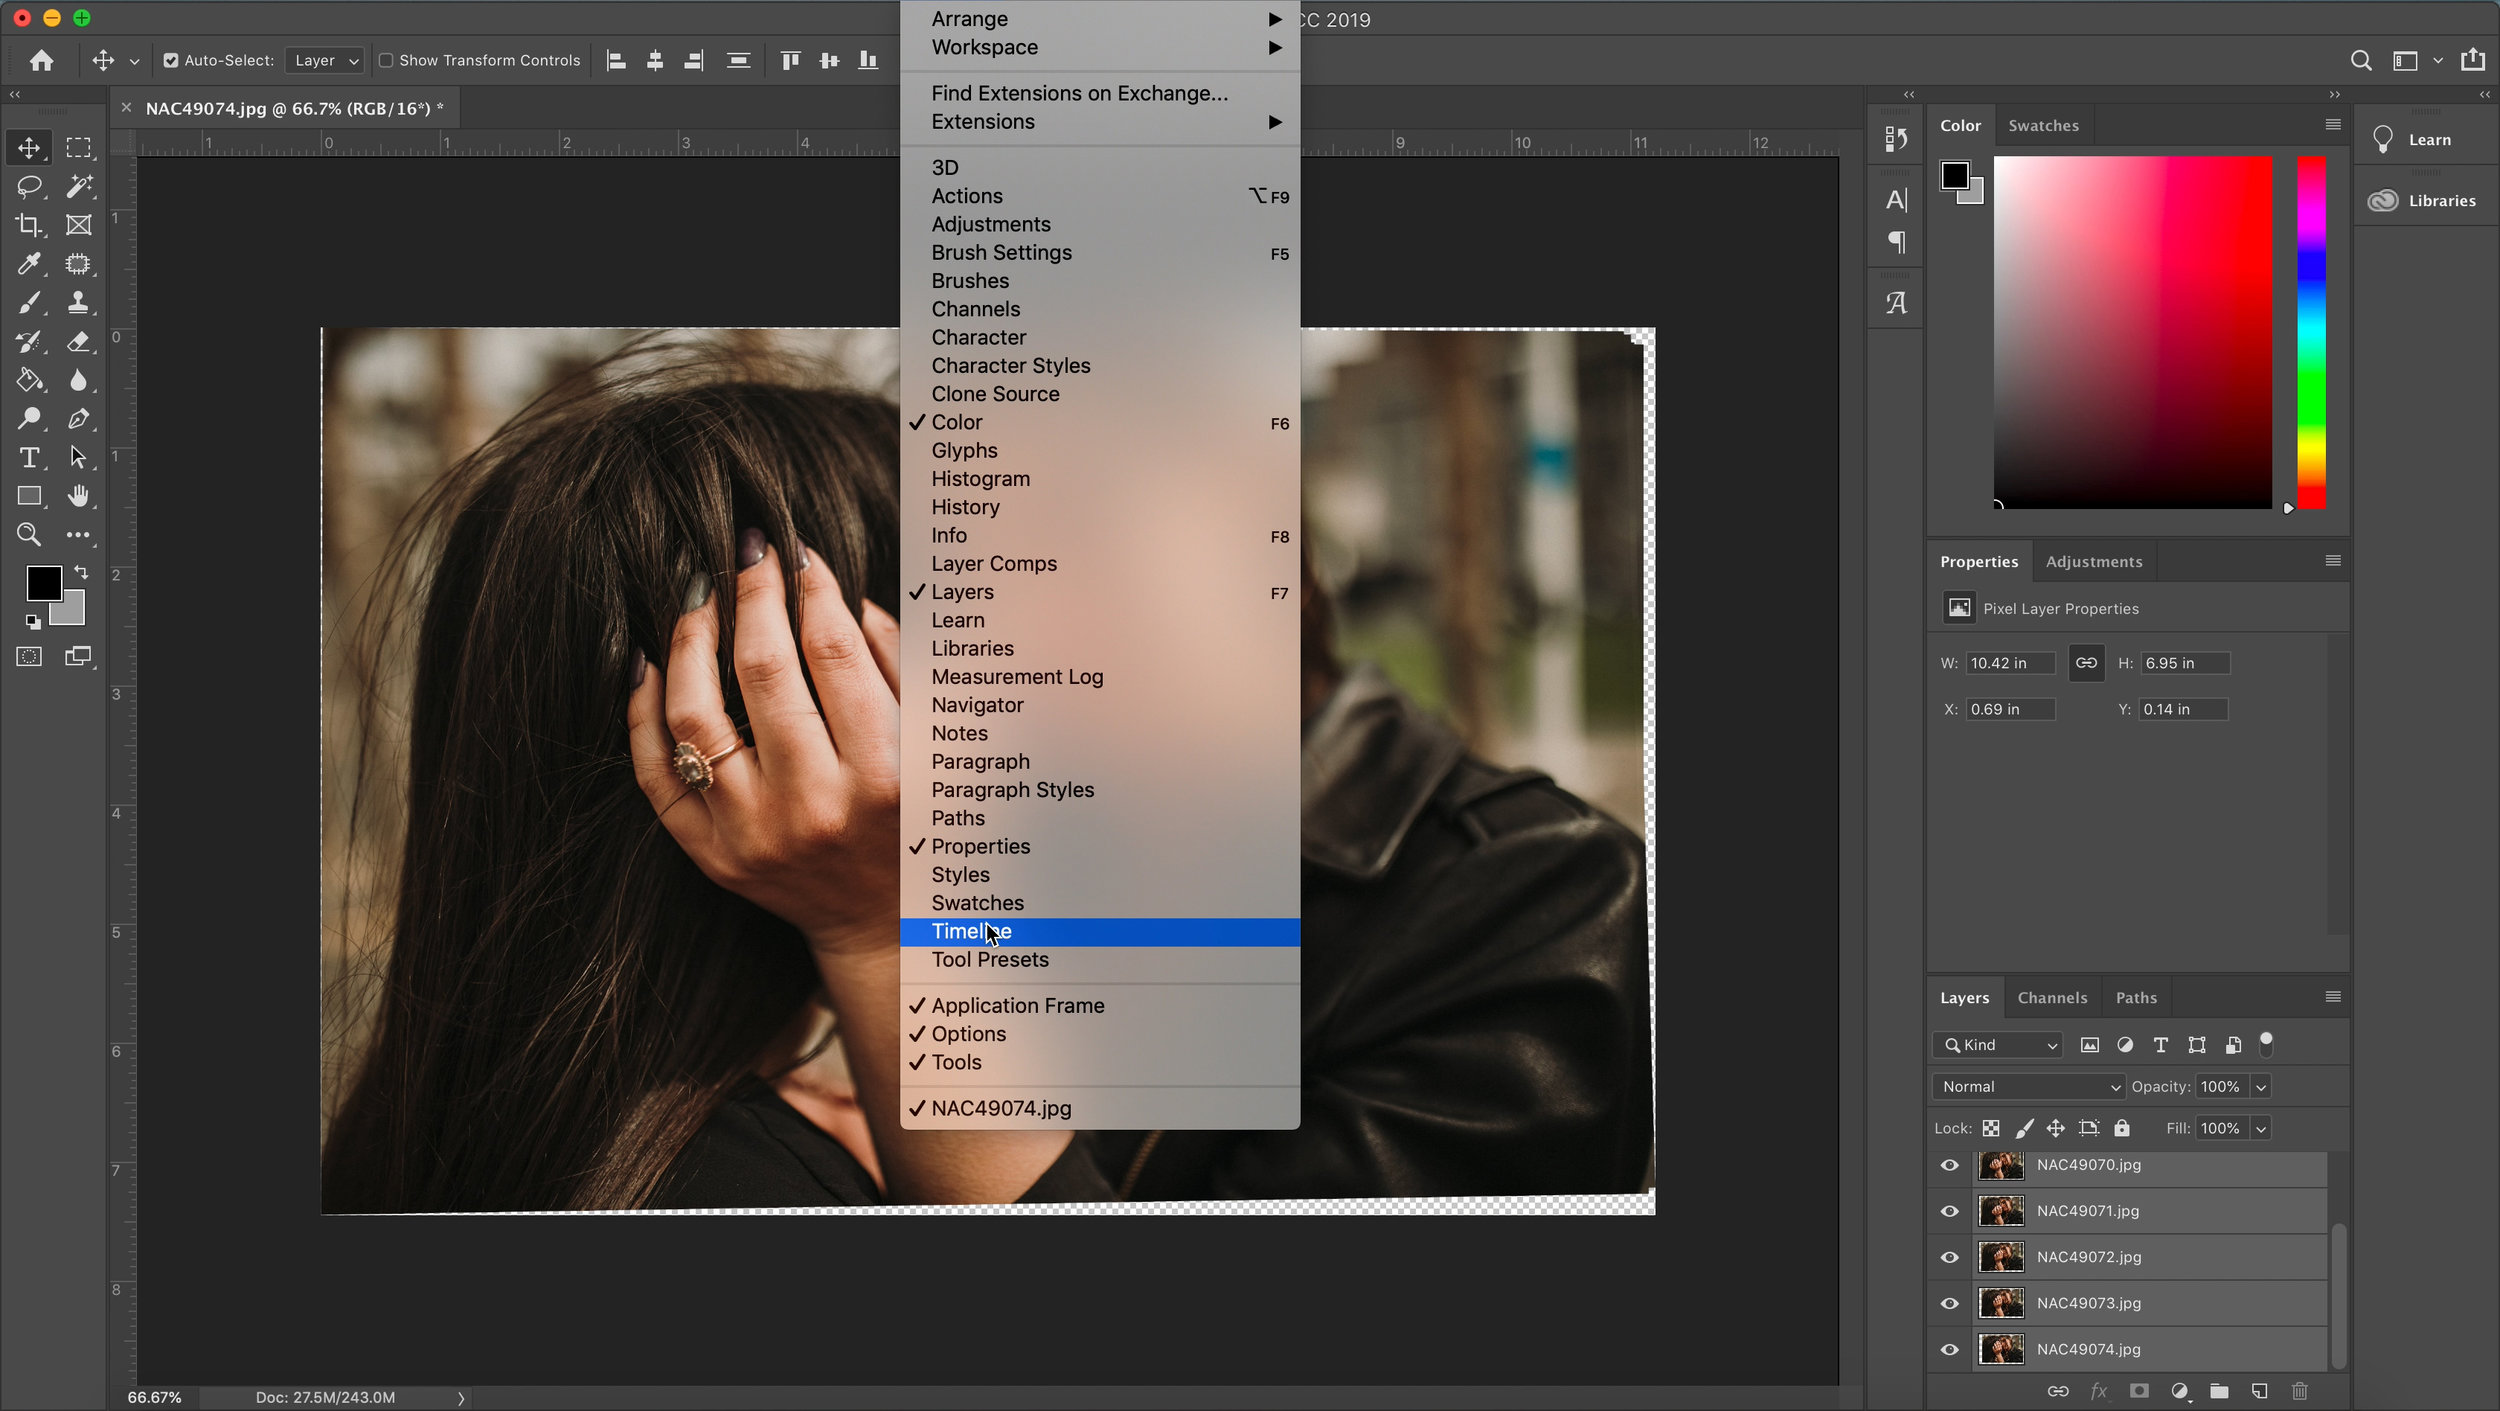
Step 4: Under the Window menu, select Timeline
It’s time to start animating our .GIF!
Step 5: In the Timeline window, select the button, Create Frame Animation

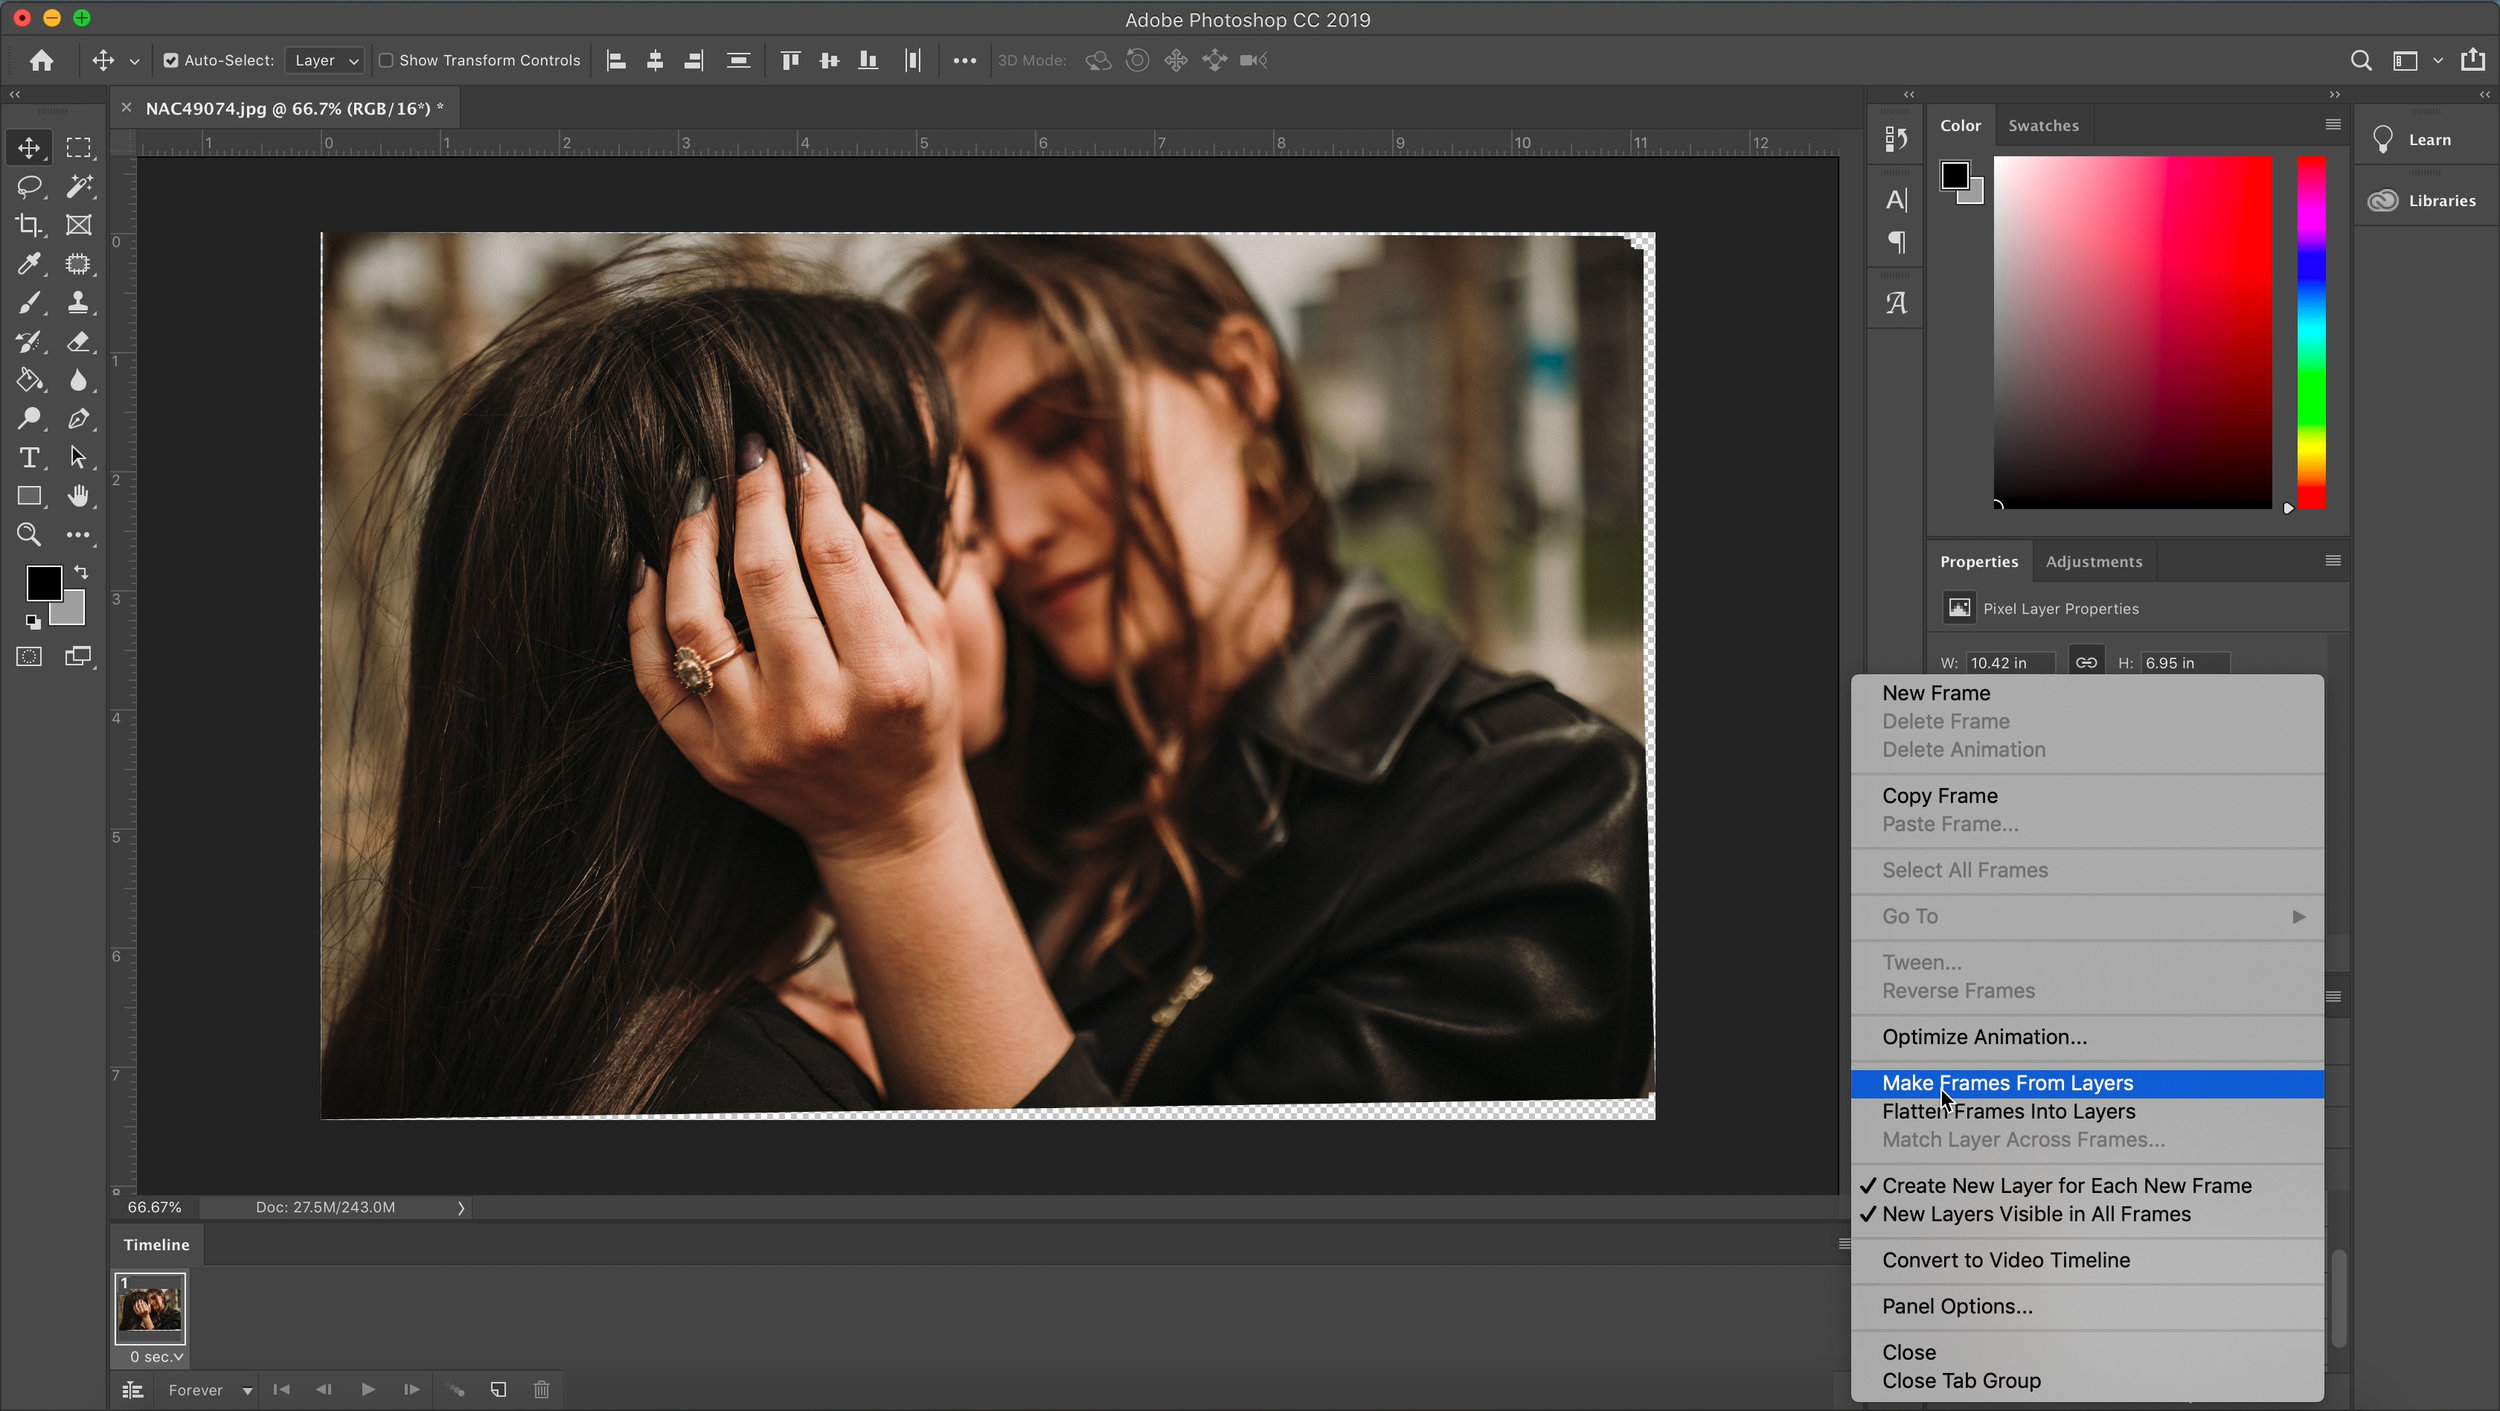
Step 6: Select the top right button in the Timeline window (lines) to Make Frames From Layers
Step 7: Select all frames, Right Click and choose your desired time interval for each frame.
This will determine the overall playback speed.

Step 8: Crop in to remove negative space

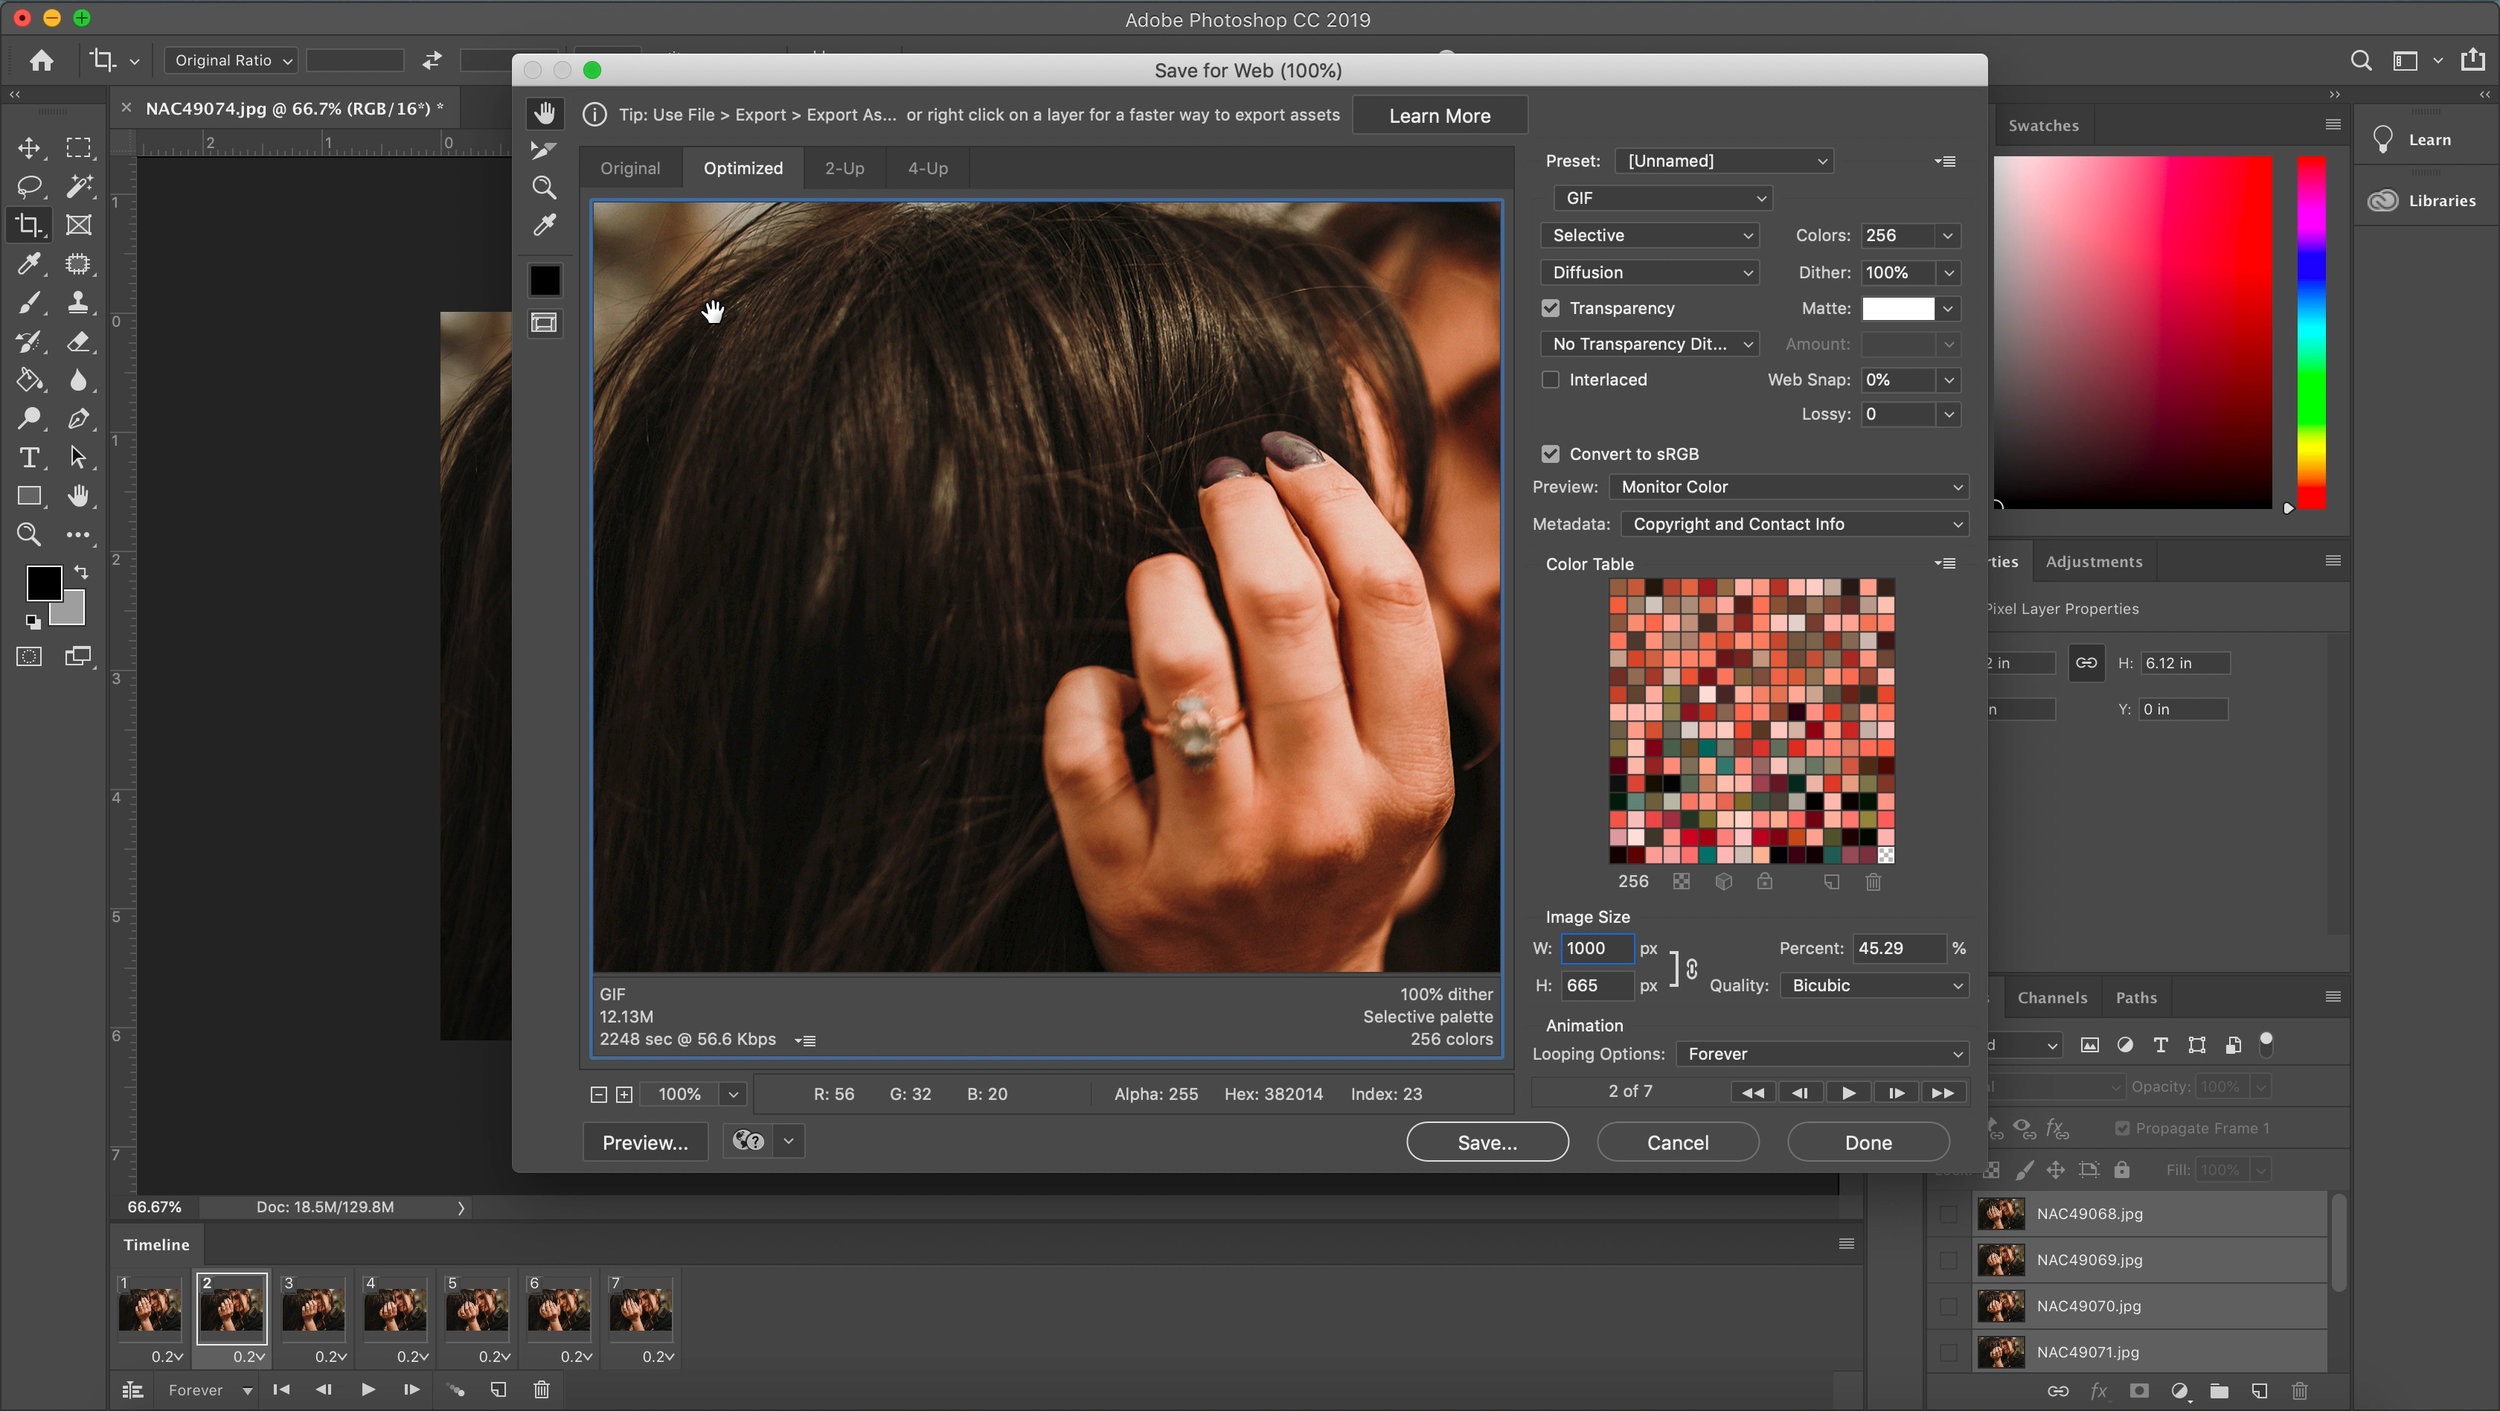
Step 9: Under the File menu, Select Export, then Save for Web
Make sure to choose your desired dimensions for posting. Menu pictured below:
That’s it! Not too bad, right? Make sure to think about moments that would make great .GIF’s at your next session and really impress your clients!


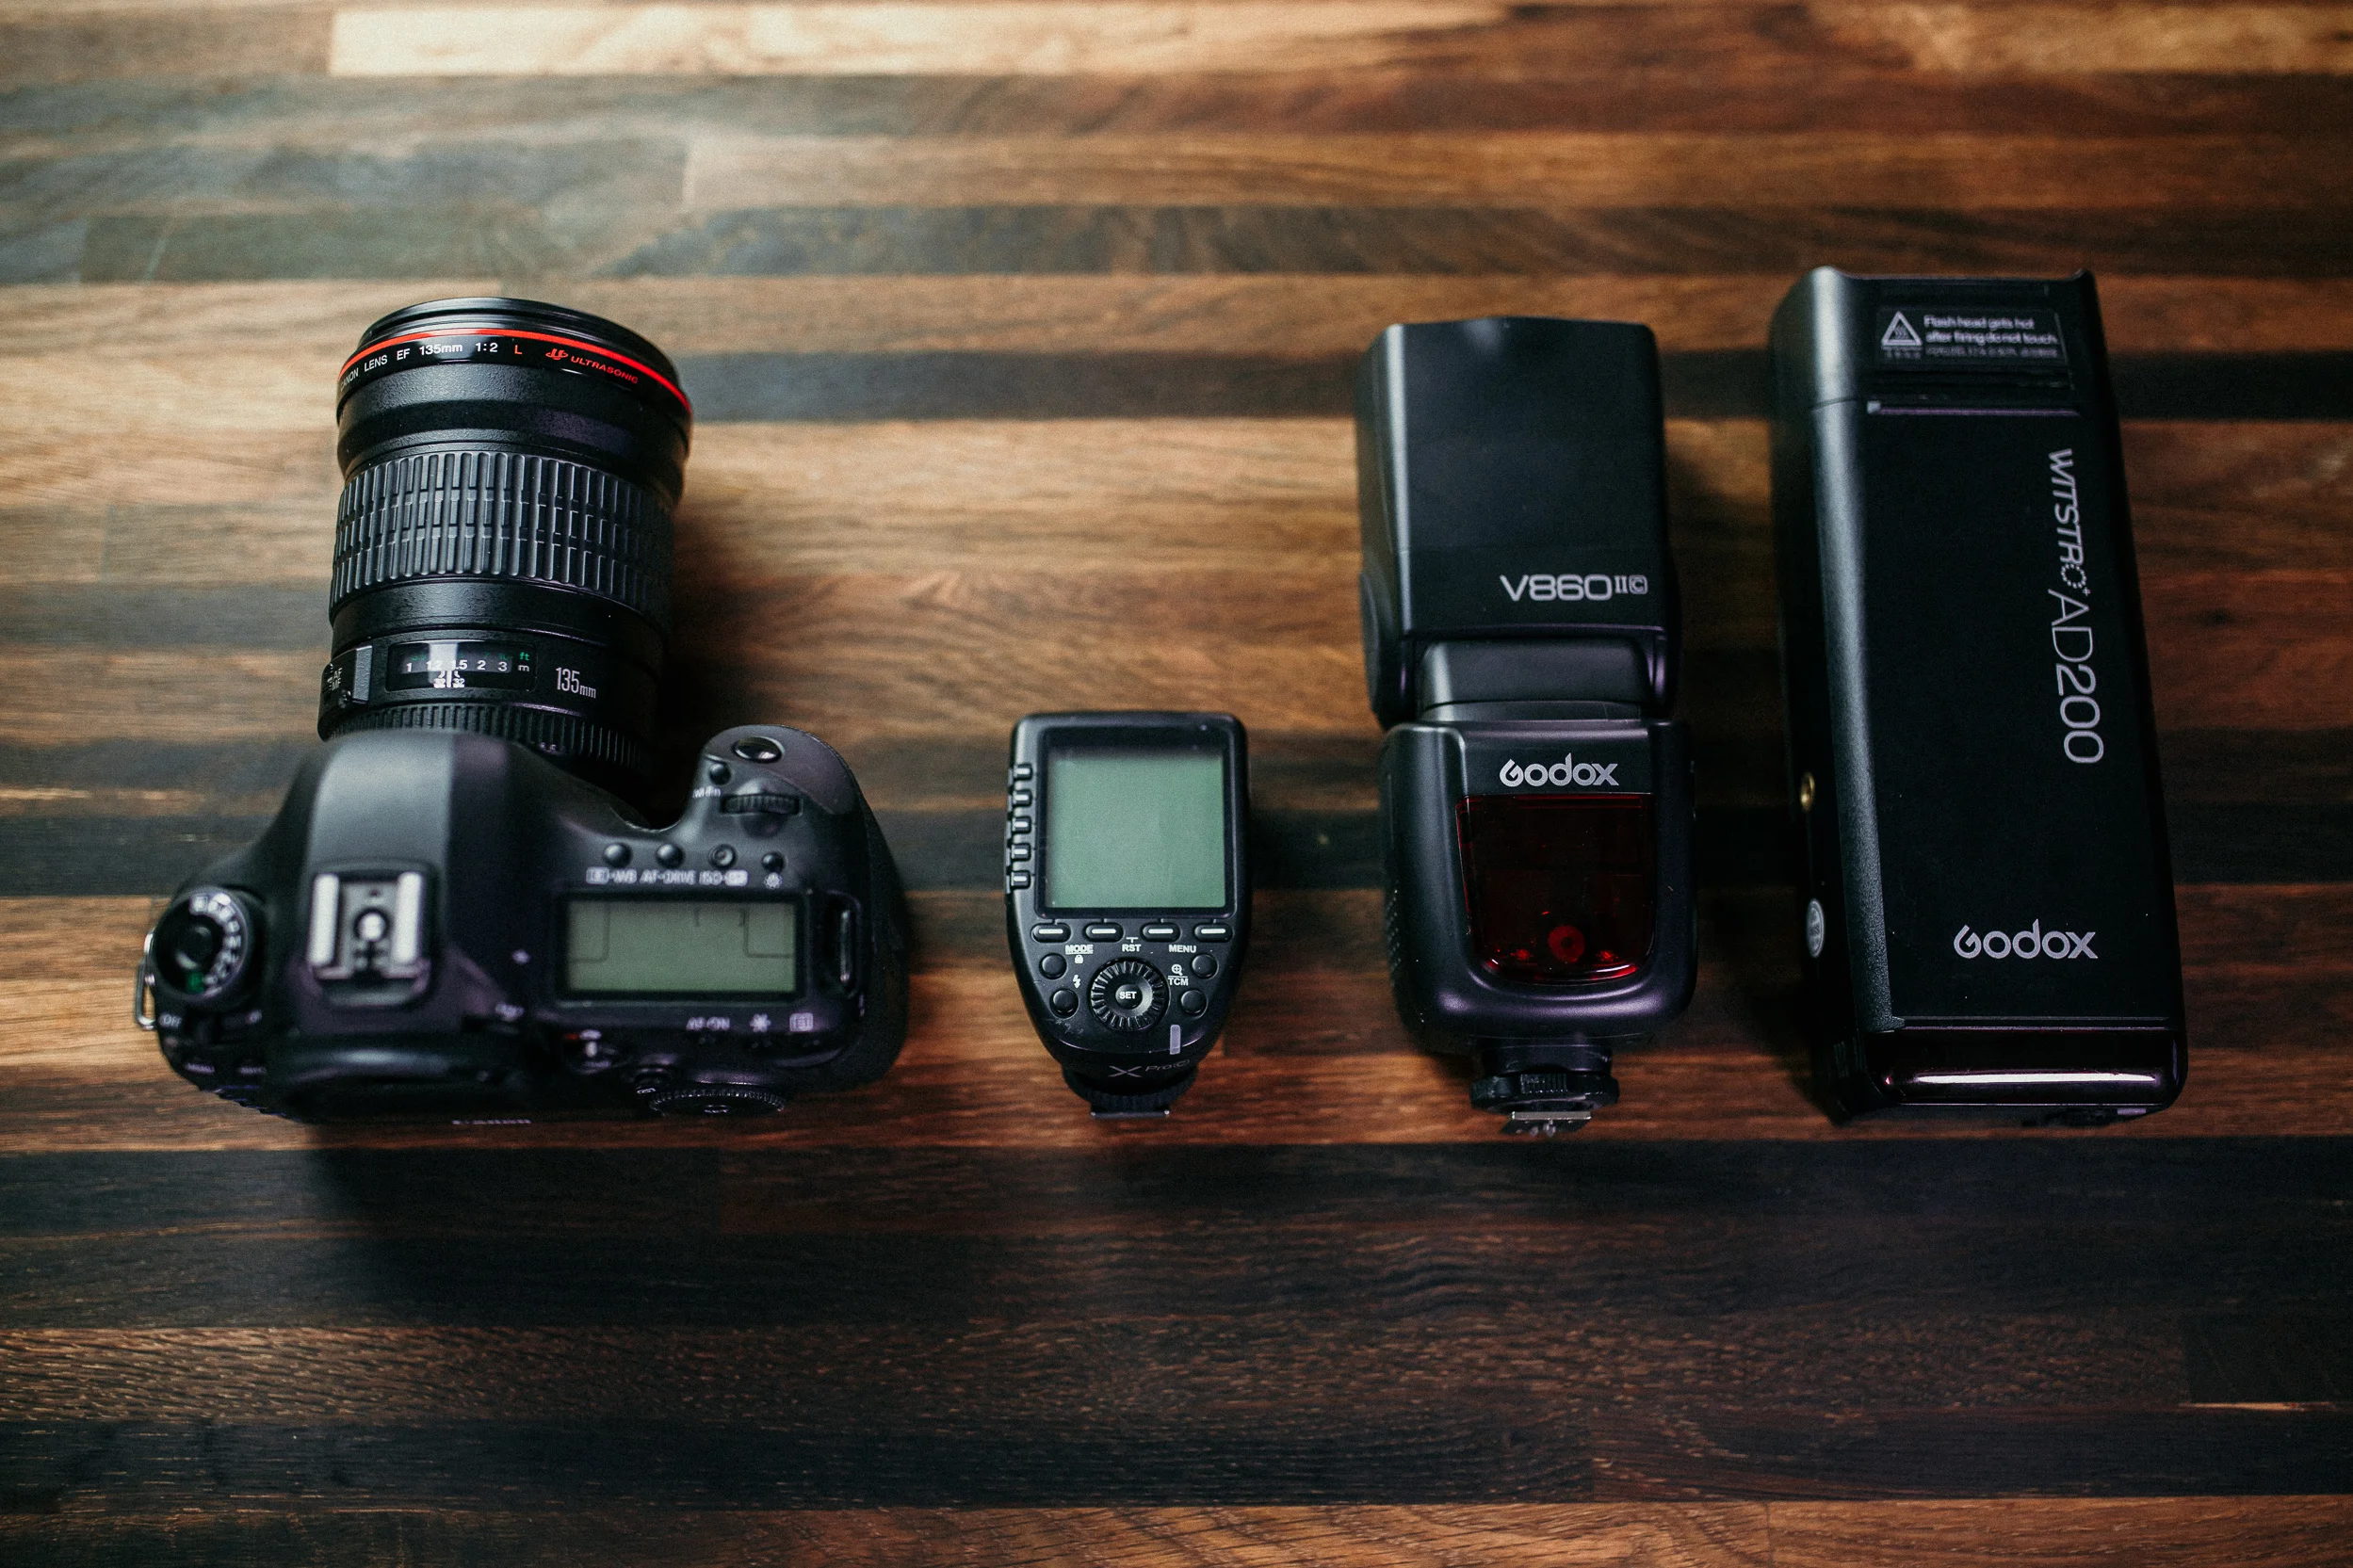

Have a question about off-camera flash and lighting? Check here first!